How to Stabilize Shaky Video in CapCut for Smooth Footage
Shaky footage can make a great moment hard to watch. Handheld clips from walks, concerts and travel often wobble and jump. This guide shows you how to stabilize video in CapCut so your footage looks smooth and steady.
You will learn how the Stabilize tool works, how to use it on mobile and PC and how to pick the right level. We also explain how to avoid warping, crop issues and blur. The team at getcapcutapk.in/ has tested stabilization on many kinds of handheld clips.
The Stabilize tool is free and takes only a few seconds. It cannot fix every clip, but it can greatly improve most handheld shots. For an overview of the app, visit our CapCut Pro APK home page.
What Does Stabilization Do?
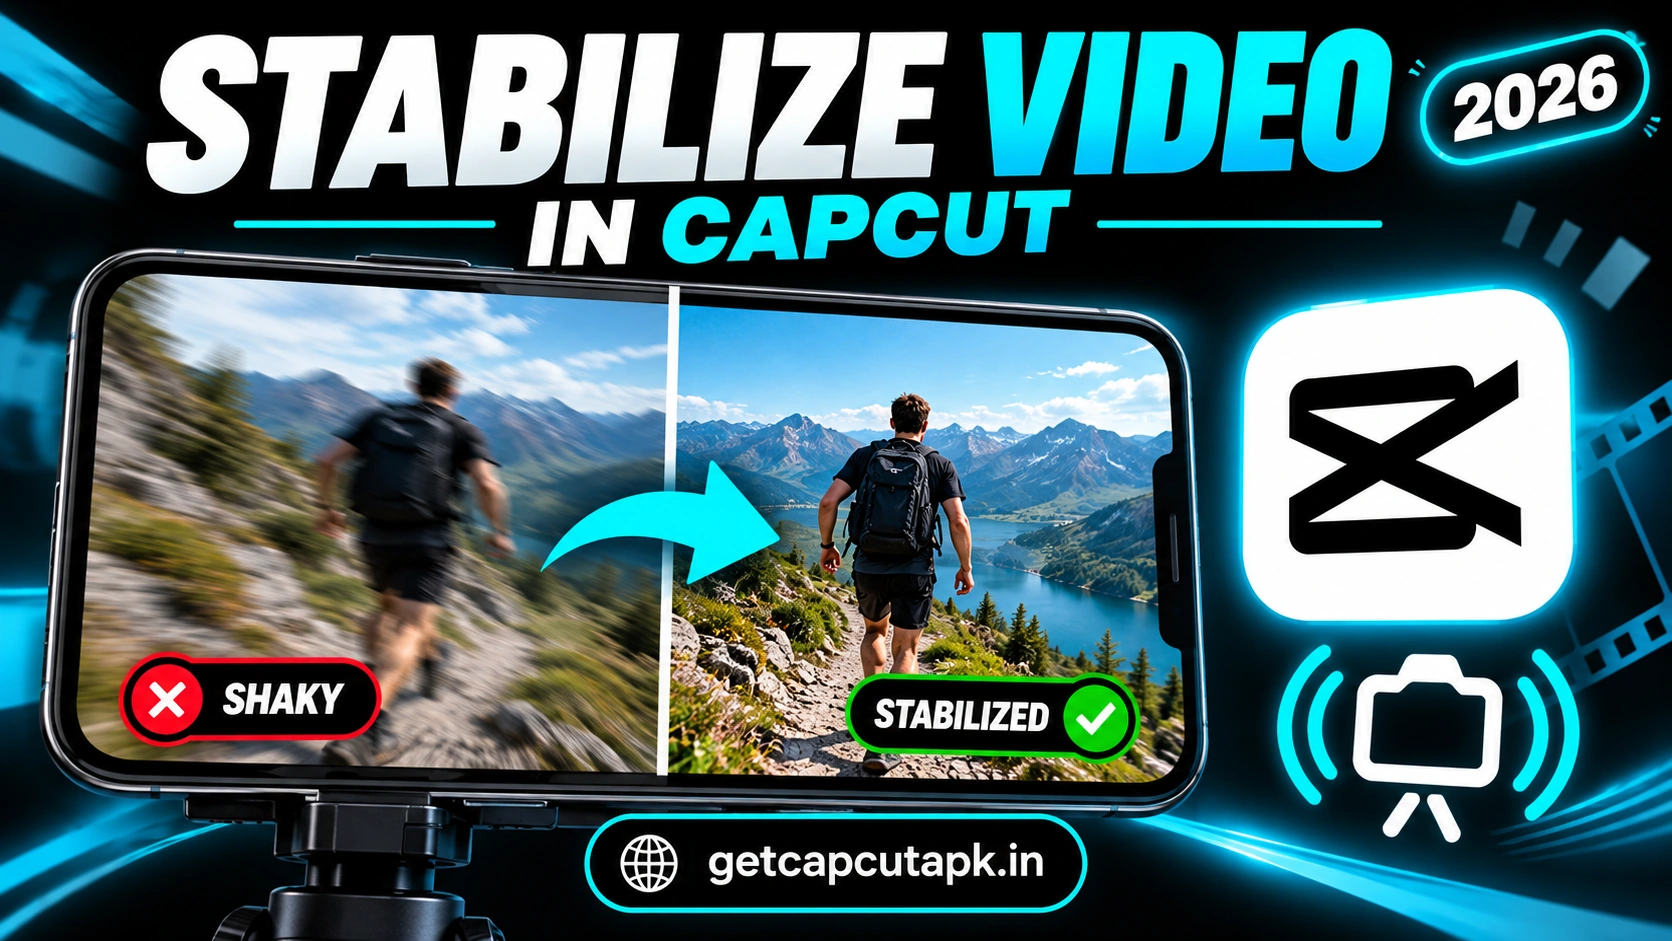
Stabilization reduces unwanted camera movement in a video. CapCut analyzes each frame to find shakes and jitters. Then it shifts and crops the frame to smooth out the motion.
To do this, the app zooms in slightly on your clip. This gives it room to move the frame without showing black edges. Higher stabilization levels zoom in more.
Stabilization works best on small, natural shakes from handheld filming. It is less effective on very fast or violent motion. Blur caused by shaking cannot be removed, only the movement.
When Should You Stabilize a Video?
Not every clip needs stabilization. Some clips are meant to feel energetic and raw. Use the tool when shaking distracts from the content.
- Walking vlogs with bouncing camera motion
- Travel clips filmed by hand
- Concert and event videos with jittery movement
- Product shots where small shakes look unprofessional
- Zoomed-in clips where every shake is easy to see
Skip stabilization for clips filmed on a tripod or gimbal. These are already steady. Extra stabilization would only crop the frame for no reason.
How to Stabilize Video in CapCut on Mobile
The steps are the same on Android and iPhone. The Stabilize tool sits in the bottom toolbar when you select a clip. Follow these steps:
- Open CapCut and add your shaky clip to a project.
- Tap the clip on the timeline to select it.
- Scroll the bottom toolbar to the right.
- Tap Stabilize.
- Choose a level, such as Recommended, Minimal crop or Most stable.
- Tap the check mark to apply.
- Wait while CapCut processes the clip.
- Play the clip to check the result.
The processing time depends on the clip length and your phone speed. Short clips take only a few seconds. Long or 4K clips may take longer.
How to Stabilize Video in CapCut on PC
The desktop app also includes stabilization. It is found in the properties panel when you select a clip. Here is how to use it.
- Import your clip and drag it to the timeline.
- Select the clip.
- In the properties panel, open the Video or Basic tab.
- Find Stabilize and turn it on.
- Choose a stabilization level.
- Wait for processing and preview the result.
The desktop version often processes long clips faster. The larger preview also helps you spot warping or crop problems. For more desktop tips, read our guide on how to use CapCut on PC.
Stabilization Levels Explained
CapCut offers different levels of stabilization. Each one balances smoothness and crop differently. The table below explains them.
| Level | Smoothness | Crop | Best For |
|---|---|---|---|
| Minimal crop | Light | Small | Clips with small shakes |
| Recommended | Medium | Medium | Most handheld clips |
| Most stable | Strong | Large | Very shaky footage |
Start with Recommended for most clips. If the clip still shakes, try Most stable. If the crop is too tight, switch to Minimal crop.
How to Avoid Warping and Wobble
Strong stabilization can sometimes cause a wobbly or jelly-like look. This happens when the app tries to fix too much motion. Here is how to avoid it.
- Use a lower stabilization level
- Split long clips and stabilize each part separately
- Trim the most violent shakes out of the clip
- Film with a faster shutter speed to reduce motion blur
- Hold the camera with both hands close to your body
If warping still appears, it may be better to use a lighter setting. A little shake often looks more natural than a warped image. Always check the full clip after stabilization.
How to Fix the Crop After Stabilizing
Stabilization zooms in on your clip, which crops the edges. This can cut off important details. Here are ways to handle the crop.
- Choose Minimal crop to reduce zoom.
- Reposition the clip in the frame if important details are cut off.
- Film with extra space around your subject next time.
- Shoot in a higher resolution so the crop stays sharp.
Filming in 4K gives you more room to crop without losing quality. Even when you export in 1080p, the extra detail helps. This is a common trick used by pro videographers.
How to Film Steadier Videos
Stabilization works best when your footage is already fairly steady. A few filming habits make a big difference. Try these tips on your next shoot.
Hold Your Phone Correctly
Hold your phone with both hands and keep your elbows close to your body. This creates a stable base. Avoid holding the phone with one hand at arm’s length.
Walk Smoothly
Bend your knees slightly and take soft, rolling steps. This reduces the bounce from each step. Some people call this the ninja walk.
Use Built-In Stabilization
Most modern phones have a stabilization mode in the camera app. Turn it on before you record. Combining camera stabilization with CapCut gives even smoother results.
Use Simple Gear
A small tripod, a selfie stick or a gimbal can help a lot. Gimbals give the smoothest motion for walking shots. Even leaning on a wall can steady your camera.
Best Phone Camera Settings for Steady Video
Your phone camera settings affect how much stabilization you will need later. A few small changes make your raw clips steadier. Check these settings before you record.
| Setting | Recommended Choice | Why |
|---|---|---|
| Video stabilization | On | Reduces shake while filming |
| Resolution | 4K if available | Leaves room for crop |
| Frame rate | 60 fps | Smoother motion and less blur |
| Action mode | On for walking or sports | Strong built-in smoothing |
| Lens | Main or wide lens | Wide lenses hide small shakes |
Some phones offer an action mode or super steady mode. These modes crop the frame a little but give very smooth footage. They are great for walking, running and sports.
How to Stabilize Only Part of a Clip
Sometimes only one section of a clip is shaky. Stabilizing the whole clip would crop the steady parts for no reason. You can stabilize just the part that needs it.
- Move the playhead to the start of the shaky part.
- Tap Split.
- Move the playhead to the end of the shaky part.
- Tap Split again.
- Select the middle section and tap Stabilize.
The crop may change between sections, so watch the cut points closely. If the jump is noticeable, add a soft transition. You can also match the zoom on the other parts with the Edit tool.
Stabilization for Different Types of Videos
Different video types need different amounts of smoothing. A vlog can keep a little natural motion, while a product shot should look rock solid. Use this table as a guide.
| Video Type | Suggested Level |
|---|---|
| Walking vlog | Recommended |
| Travel montage | Recommended or Most stable |
| Product close-up | Most stable |
| Concert clip | Recommended |
| Talking head held by hand | Minimal crop |
| Sports action | Recommended, with short clips |
These levels are a starting point, not a strict rule. Preview each clip and adjust until it feels right. The goal is smooth motion that still looks natural.
Stabilize vs Gimbal vs Tripod
Different tools solve shaking in different ways. Each has its own cost and benefits. The table below compares them.
| Tool | Cost | Smoothness | Best For |
|---|---|---|---|
| CapCut Stabilize | Free | Good | Fixing existing footage |
| Phone stabilization mode | Free | Good | Everyday filming |
| Tripod | Low | Perfectly still | Static shots |
| Gimbal | Medium | Very smooth | Walking and moving shots |
The best results often come from combining tools. Film with phone stabilization or a gimbal, then use CapCut for final fixes. This gives you smooth footage with minimal crop.
How Long Does Stabilization Take?
Processing time depends on the clip length, resolution and your device. Short clips usually finish in a few seconds. Long 4K clips can take a minute or more.
| Clip | Typical Time on a Mid-Range Phone |
|---|---|
| 10 seconds at 1080p | A few seconds |
| 30 seconds at 1080p | Around ten to twenty seconds |
| 1 minute at 4K | Up to a minute or more |
Keep the app open while it processes. If it gets stuck, free up storage and try again. Splitting long clips into short parts also speeds things up.
The desktop app is often faster for long clips thanks to stronger hardware. If you stabilize a lot of footage, consider doing it on a computer. Our guide on CapCut for PC explains how to get started.
Common Stabilization Problems and Fixes
A few problems can appear when you stabilize clips. Most of them are easy to fix. The table below lists quick solutions.
| Problem | Fix |
|---|---|
| Stabilize option missing | Select a video clip and update CapCut |
| Processing stuck | Free up storage and restart the app |
| Clip still shakes | Use Most stable or split the clip |
| Image looks warped | Use a lower level |
| Too much zoom | Choose Minimal crop |
| Blurry frames remain | Film with more light and a faster shutter |
Stabilization cannot remove motion blur from fast shakes. Blur is baked into each frame when you record. Better light and steadier filming are the only real fixes for blur.
Combine Stabilization With Other Tools
Stabilization works well with other CapCut tools. Together, they can turn rough clips into polished footage. Here are some useful combos.
- Stabilize plus slow motion for smooth cinematic shots
- Stabilize plus motion tracking for steady labels on moving subjects
- Stabilize plus color correction for clean, pro-looking clips
- Stabilize plus keyframe zoom for controlled camera moves
Always stabilize first, before you add tracking or keyframes. Stabilization changes the frame, so later edits should be based on the steady version. Read our guide on how to use motion tracking in CapCut to learn more.
Tips From Our Editors
The editors at getcapcutapk.in/ stabilize many handheld clips every week. Here are the tips that help most. Try them on your next project:
- Start with Recommended and adjust from there
- Stabilize short clips instead of long ones
- Film in 4K to keep detail after the crop
- Use phone camera stabilization while filming
- Check the edges of the frame after processing
- Keep a little natural motion for a real feel
Conclusion
Stabilizing shaky video in CapCut is quick and free. Select your clip, tap Stabilize, choose a level and let CapCut smooth the motion. Recommended works well for most clips, while Most stable helps with heavy shakes.
Watch out for warping and crop, and use lighter levels when needed. Film with steady habits, phone stabilization and simple gear for the best base footage. Together, these steps give you smooth, professional-looking clips.
For more feature guides and editing tips, keep visiting getcapcutapk.in/. Also explore our full list of CapCut features to learn more tools. Happy editing.
Frequently Asked Questions
Select a video clip and scroll the bottom toolbar. Tap Stabilize to see the options. On PC, find it in the properties panel.
Yes, the Stabilize tool is free in CapCut. You can use it on mobile and PC. No Pro plan is needed.
Stabilization crops the frame to smooth out motion. Higher levels zoom in more. Choose Minimal crop for less zoom.
CapCut can greatly improve shaky video, but it cannot fix extreme motion perfectly. Try Most stable and split long clips. Steadier filming gives the best results.
No, stabilization only reduces camera movement. Blur from fast shakes stays in the frames. Film in good light to reduce blur.