CapCut Photo Editor and Collage Maker Guide for Beginners
Many people know CapCut as a video editor, but it can also edit photos. You can crop, adjust colors, add text and build collages in one app. This guide covers the CapCut photo editor and collage maker for beginners.
You will learn where to find the photo tools, how to edit a single photo and how to make collages. We also cover background removal, text, filters, slideshows, export settings and common problems. The team at getcapcutapk.in/ uses CapCut for quick photo edits that go into videos and posts.
Photo features may appear in different places depending on your version and region. Some tools may also live in related apps like Hypic. For an overview of the video app, visit our CapCut Pro APK home page.
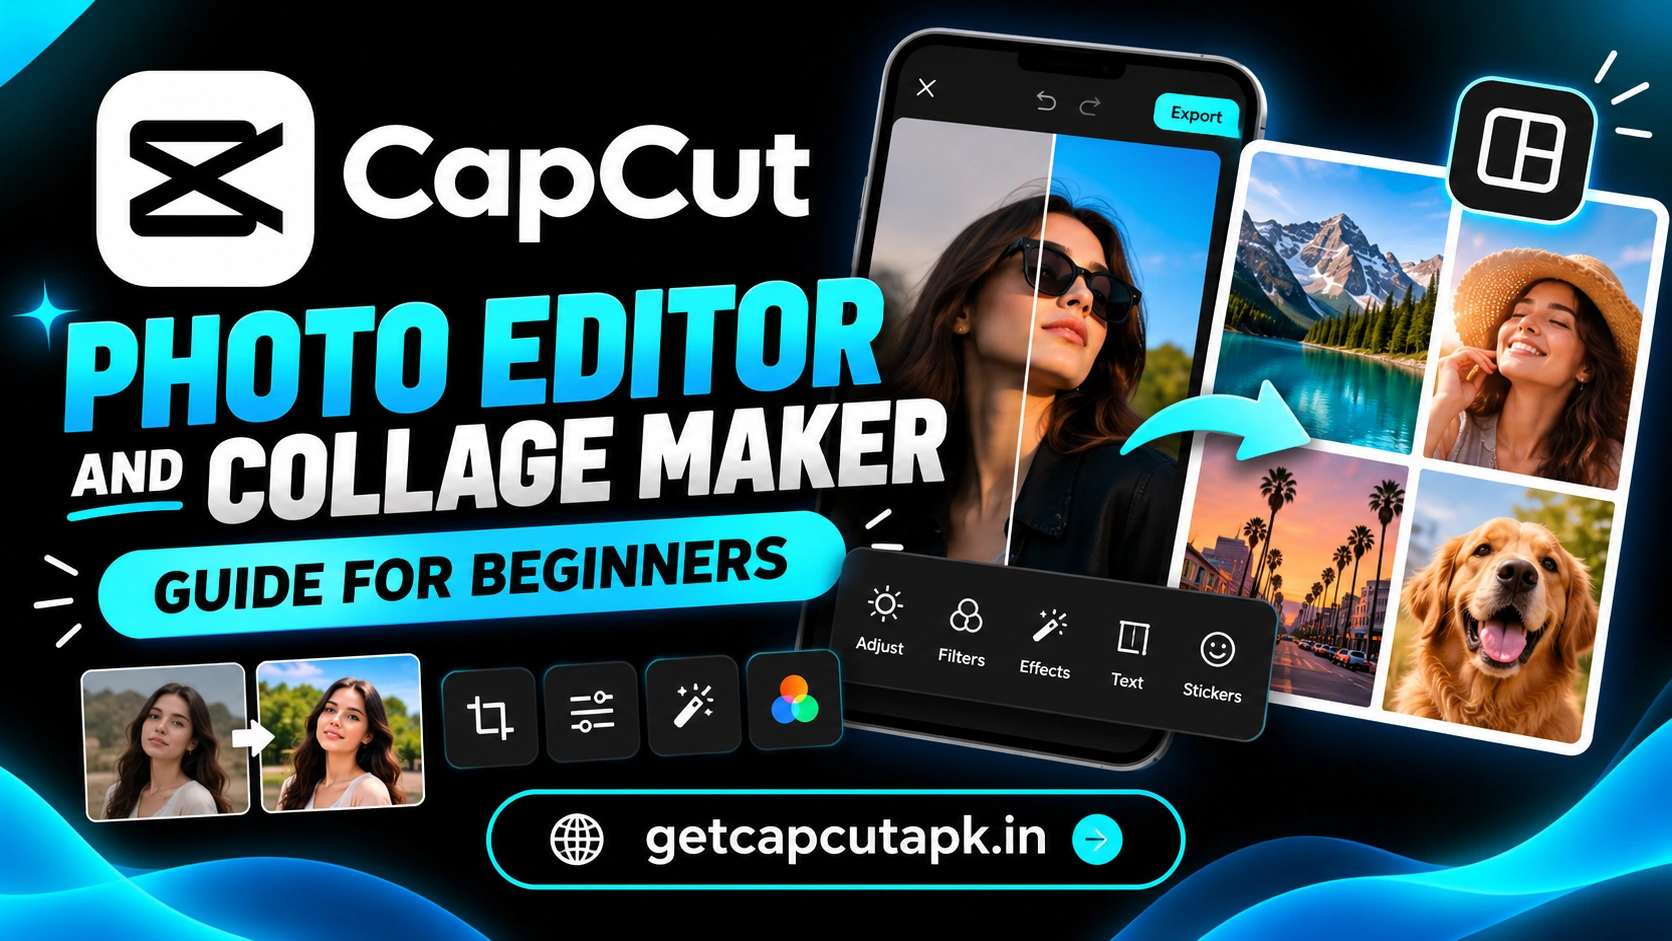
What Can the CapCut Photo Editor Do?
The CapCut photo editor includes many of the same tools you use for video. You can apply them to still images. This keeps your photos and videos in one consistent style.
Here are the main photo tools you may find. Availability can vary by version. Update the app to see the latest options.
| Tool | What It Does |
|---|---|
| Crop and rotate | Frames the photo and fixes angles |
| Filters | Changes mood and color |
| Adjust | Controls brightness, contrast and color |
| Text | Adds titles, quotes and labels |
| Stickers | Adds fun graphics |
| Remove background | Cuts out people or products |
| Retouch | Improves faces lightly |
| Collage | Combines several photos |
Where to Find Photo Editing in CapCut
The photo editor may appear as its own option or inside the main editor. Look for words like Photo editor, Edit photo or Image. Here are common places.
- Open CapCut and look on the home screen for a photo or image option.
- Check the AI or tools section.
- Add a photo to a video project and edit it there.
- On the web or desktop, look for an image editing mode.
If you cannot find a dedicated photo editor, add your photo to a normal project. Most tools work on photos inside the video editor. You can then export a single frame or short clip.
How to Edit a Single Photo
Editing a photo in CapCut takes only a few steps. You can improve light, color and framing quickly. Follow these steps.
- Open the photo editor or add your photo to a project.
- Tap Crop to frame the subject.
- Tap Adjust to fix brightness and contrast.
- Tap Filters to add a mood.
- Tap Text to add a caption or title.
- Add stickers if you like.
- Export or save the photo.
Start with crop and light before adding filters. Good basics make filters look better. Keep filter strength moderate for a natural look.
Best Adjust Settings for Photos
The Adjust tool gives you control over light and color. Small changes often make the biggest difference. Here is a simple guide.
| Setting | When to Use It |
|---|---|
| Brightness | Dark photos |
| Contrast | Flat or dull photos |
| Saturation | Weak colors |
| Warmth | Photos that look too blue |
| Highlights | Overexposed skies |
| Shadows | Dark faces or corners |
| Sharpen | Slightly soft photos |
Make one change at a time and compare often. Too many strong changes can look unnatural. Aim for clean, balanced images.
How to Remove a Photo Background
Background removal is great for product photos, thumbnails and fun edits. CapCut’s AI can cut out the subject in one tap. Here is how.
- Select your photo.
- Tap Remove BG.
- Choose Auto removal for people or Custom removal for objects.
- Add a new background color or image.
- Save the result.
Read our guide on how to make a photo background white in CapCut for clean product photos. It explains edge cleanup and shadows. These tips work for any background color.
How to Make a Collage
Collages combine several photos into one image. They are great for events, travel and before and after posts. CapCut offers collage layouts in many versions.
- Open the Collage or Layout tool.
- Select the photos you want.
- Choose a layout that fits the number of photos.
- Drag photos to arrange them.
- Adjust spacing and borders.
- Add a background color if available.
- Save your collage.
If your version lacks a collage tool, you can build one in the video editor. Use overlays and position each photo by hand. Set the ratio first, such as 1:1 or 4:5.
Collage Layout Ideas
| Layout | Best For |
|---|---|
| Two side by side | Before and after |
| Grid of four | Trip highlights |
| One large and two small | Featured photo with details |
| Vertical strip | Stories and phone screens |
How to Add Text to Photos
Text turns a photo into a message, quote or announcement. CapCut offers many fonts and styles. Here is how to add text well.
- Tap Text and add your words.
- Choose a bold, readable font.
- Pick a color that contrasts with the photo.
- Add a stroke or shadow if the background is busy.
- Place text where it does not cover faces.
Keep text short and easy to read on phones. Use one or two fonts at most. Read our CapCut AI design guide for more design tips.
How to Turn Photos Into a Slideshow Video
Your edited photos can become a slideshow video. This is perfect for birthdays, trips and memories. CapCut makes it easy.
- Add your edited photos to a new project.
- Set each photo to two or three seconds.
- Add transitions between photos.
- Add slow keyframe zooms for motion.
- Add music and a title.
- Export your video.
You can also use templates for slideshows. Many templates are designed for photo dumps. Read our guide on CapCut templates for ideas.
Export Settings for Photos
When your photo is ready, save it at the right size and quality. The best size depends on where you will post it. Here is a guide.
| Use | Ratio |
|---|---|
| Instagram post | 1:1 or 4:5 |
| Instagram story | 9:16 |
| Facebook post | 1:1 or 4:5 |
| YouTube thumbnail | 16:9 |
| Profile picture | 1:1 |
Save at the highest quality available. Social apps compress images, so starting sharp helps. Keep the original photo in case you need to edit again.
Photo Editing Ideas for Social Media
Edited photos are great for posts, stories and carousels. A clear idea makes each post more engaging. Here are some ideas to try.
| Idea | How to Make It |
|---|---|
| Quote post | Photo with a short quote in bold text |
| Before and after | Two photos side by side in a collage |
| Product spotlight | White background with a price tag sticker |
| Travel memory | Warm filter with a location label |
| Tip card | Plain background with a short tip |
Keep a consistent filter and font across posts. This makes your profile look organized. The team at getcapcutapk.in/ uses one filter style for each series of posts.
How to Batch Edit Photos
When you edit many photos from one event, batch editing saves time. Applying the same look keeps photos consistent. Here is a simple method.
- Edit one photo until you love the look.
- Note the filter and adjust settings you used.
- Apply the same filter and settings to each photo.
- Use Apply to all where the option exists.
- Fine-tune any photo that looks different.
Photos taken in the same light usually need the same settings. Mixed lighting may need small changes per photo. Always check every photo before you save.
Photo Tips for Better Starting Images
Great edits start with good photos. A few simple shooting habits make editing easier. Try these.
Clean Your Lens
Phone lenses collect fingerprints and dust. A dirty lens makes photos hazy. Wipe it gently before you shoot.
Use Natural Light
Window light and shade outdoors give soft, flattering light. Avoid harsh midday sun on faces. Soft light needs less editing.
Tap to Focus
Tap the subject on your screen before you take the photo. This keeps the subject sharp. Sharp photos look better after every edit.
CapCut Photo Editor vs Hypic
CapCut can handle quick photo edits, but Hypic is built especially for photos. Both come from the same company family. Here is how they compare.
| Point | CapCut | Hypic |
|---|---|---|
| Main focus | Video with photo tools | Photo editing |
| Retouch depth | Basic | Detailed |
| Object removal | Limited | Strong |
| Video tools | Full | None |
Use CapCut when your photos are going into videos. Use Hypic for detailed portraits and photo-only work. Read our Hypic AI photo editor guide for more.
Common Problems and Fixes
A few problems can come up when editing photos. Most have simple fixes. The table below lists them.
| Problem | Fix |
|---|---|
| Photo editor not found | Edit photos inside a normal project |
| Photo looks blurry | Use a sharper original and export at high quality |
| Collage tool missing | Build a collage with overlays |
| Text hard to read | Add stroke, shadow or a background box |
| Colors look strange | Lower filter strength |
Photo Editing Checklist
Use this checklist before you save a photo. It helps your edits look clean. It only takes a moment.
- Is the photo cropped to the right ratio?
- Are light and color balanced?
- Is any text easy to read?
- Are faces and key details uncovered?
- Did you save at high quality?
Editing Photos on CapCut PC
The desktop app gives you a bigger canvas for photo edits. You can see fine details and place text precisely. This is helpful for thumbnails and print designs.
Import your photo into a project and set the ratio first. Use the properties panel for adjust, filter and background tools. Export a still frame or use the image export option if your version has it.
How to Fix Common Photo Problems
Some photo problems come up again and again. Knowing the quick fix saves time. Here are the most common ones.
| Problem | Quick Fix |
|---|---|
| Dark face | Raise shadows a little |
| Washed out sky | Lower highlights |
| Too blue indoors | Add warmth |
| Tilted horizon | Rotate in Crop |
Keep a Copy of Your Originals
Always keep the original photo before you edit. If an edit goes wrong, you can start again. Save edited versions with a clear name so you can find them later.
Key Takeaways
Here are the most important points from this guide on photo editing. Keep them in mind for your next edit. They cover the steps that make the biggest difference.
- Crop and adjust light before adding filters
- Use background removal for clean product and profile photos
- Build collages with layouts or overlays
- Turn edited photos into slideshow videos
Retouch Faces in Photos and Videos
Portraits often need a little skin and face touch up. CapCut has special retouch tools for this job. Read our guide on CapCut retouch for natural looking results.
Conclusion
The CapCut photo editor and collage maker help you edit photos quickly in the same app you use for video. Crop, adjust light and color, add filters and text, and remove backgrounds. Combine photos into collages for events and before and after posts.
Turn your edited photos into slideshow videos with transitions, zooms and music. Save photos at the right size and high quality. For detailed portrait and photo work, try Hypic alongside CapCut.
For more feature guides and editing tips, keep visiting getcapcutapk.in/. Also explore our full list of CapCut features to learn more tools. Happy editing.
Frequently Asked Questions
Yes, CapCut includes photo editing tools in many versions. You can crop, adjust, add filters and text. You can also edit photos inside video projects.
Many versions include collage or layout tools. If yours does not, build a collage with overlays. Set the ratio first.
Select the photo and tap Remove BG. Choose Auto removal or Custom removal. Then add a new background.
Use the photo editor’s save option if available. Otherwise, export a short clip or single frame. Save at high quality.
Use CapCut for photos that go into videos. Use Hypic for detailed photo retouching. Many creators use both.