Trending CapCut Transitions and How to Use Them Like a Pro
A good transition turns two separate clips into one smooth story. A bad one makes the cut feel cheap and pulls viewers out of the moment. This guide covers the trending CapCut transitions and shows you how to use them like a pro.
You will learn how to add transitions, how long they should be and how to sync them with music. We also cover custom transitions with keyframes, matching sound effects and fixes for common problems. The team at getcapcutapk.in/ uses these methods in almost every short video we make.
CapCut offers hundreds of transitions, from soft fades to spins, zooms and glitch effects. The secret is not to use the most, but to use the right one at the right moment. For an overview of the app, visit our CapCut Pro APK home page.
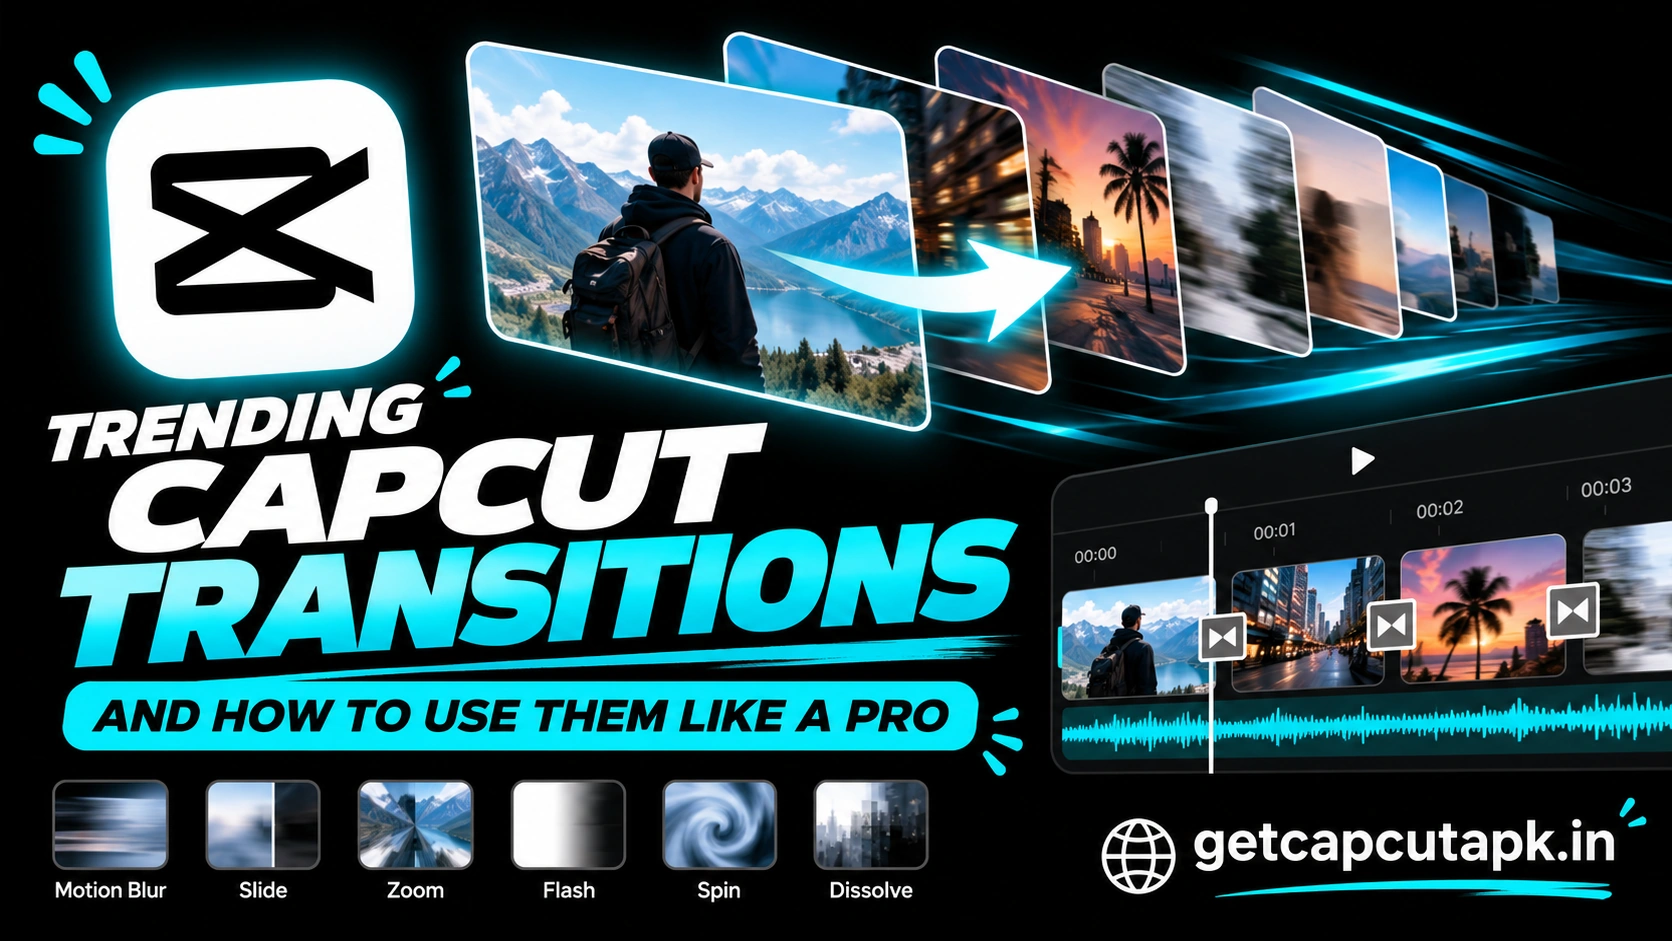
What Are Transitions in CapCut?
A transition is a short effect that plays between two clips. It replaces a hard cut with motion, light or blending. This helps one scene flow into the next.
In CapCut, transitions sit in the small box between two clips on the main track. You tap that box to open the transition library. Then you pick a style and set its length.
Transitions work on both mobile and desktop. The library is grouped into categories like Basic, Camera, Effects, MG, Glitch and Blur. New styles arrive with app updates.
Trending CapCut Transitions Right Now
Some transitions show up in viral videos again and again. They are popular because they match fast music and feel energetic. Here are the styles creators use most.
| Transition | Look | Best For |
|---|---|---|
| Zoom In | Fast push into the next clip | Beat drops and reveals |
| Whip Pan | Quick blurred swipe sideways | Travel and outfit changes |
| Flash | Bright white flash at the cut | Hype edits and gaming |
| Glitch | Digital distortion and color split | Tech and edgy content |
| Spin | Rotating move into the next clip | Dance and party videos |
| Blur Dissolve | Soft blur and fade | Calm, aesthetic videos |
| Slide | Next clip slides in from a side | Tutorials and lists |
| Shake | Short camera shake at the cut | Impact moments |
You do not need all of them in one video. Pick one or two styles that match your song and mood. Repeating the same style often looks cleaner than mixing many.
How to Add a Transition in CapCut
Adding a transition takes only a few taps. The steps are the same on Android and iPhone. Follow these steps.
- Open your project and place at least two clips on the main track.
- Tap the small white box between the two clips.
- Browse the transition categories.
- Tap a transition to preview it.
- Drag the duration slider to set the length.
- Tap the check mark to apply.
To use the same transition everywhere, tap Apply to all before you confirm. CapCut adds that style to every cut on the main track. You can still change single transitions later.
How to Add Transitions on CapCut PC
The desktop app works in a similar way, with a bigger library view. You can drag transitions straight onto the timeline. Here is how.
- Click the Transitions tab at the top.
- Hover over styles to preview them.
- Drag a transition onto the cut between two clips.
- Adjust its duration in the properties panel.
Desktop editing makes precise timing easier. You can zoom in on the timeline and see exactly where the cut sits. For more desktop tips, read our guide on how to use CapCut on PC.
How Long Should a Transition Be?
Transition length changes the whole feel of a video. Short transitions feel fast and punchy, while long ones feel calm and dreamy. Use this table as a starting point.
| Video Type | Suggested Length |
|---|---|
| Fast beat edits | 0.2 to 0.4 seconds |
| Vlogs and travel | 0.4 to 0.6 seconds |
| Tutorials | 0.3 to 0.5 seconds |
| Emotional or aesthetic videos | 0.6 to 1.0 seconds |
| Slideshows | 0.5 to 0.8 seconds |
Long transitions on fast songs can make the edit feel slow. Short transitions on calm music can feel jumpy. Match the length to the rhythm of your audio.
How to Sync Transitions With Music
Transitions look best when they land right on the beat. CapCut has a Beats tool that marks the rhythm for you. Here is how to use it.
- Add your song to the timeline.
- Tap the music track and choose Beats.
- Turn on Auto generate or tap to add marks by hand.
- Trim each clip so its end sits on a beat mark.
- Add transitions at those cuts.
The middle of the transition should line up with the beat. Play the section a few times and nudge clips if needed. Small timing fixes make a big difference.
How to Make Custom Transitions With Keyframes
Preset transitions are quick, but custom ones look unique. You can build your own zoom or slide with keyframes. This gives you full control over speed and direction.
Custom Zoom Transition
- Select the end of the first clip.
- Add a keyframe a few frames before the cut.
- Move to the last frame and zoom in to around 150 percent.
- On the next clip, add a keyframe at the first frame zoomed in.
- A few frames later, zoom back to normal.
The two zooms meet at the cut and create a smooth push. Add a little motion blur for extra smoothness. Read our guide on how to add keyframes in CapCut for more ideas.
Add Sound to Your Transitions
A transition feels much stronger with a matching sound. A whoosh on a whip pan or a hit on a flash makes the cut land. CapCut has many free transition sounds.
- Tap Audio, then Sound effects.
- Search for whoosh, swipe, hit or glitch.
- Place the sound so it peaks at the cut.
- Lower its volume slightly under the music.
Keep sound effects short and match them to the style of each transition. A soft swoosh fits a blur dissolve, while a sharp hit fits a flash. Small audio details make edits feel polished.
Match Cuts Without Effects
Some of the best transitions use no effect at all. A match cut joins two clips that share a similar shape, motion or position. The viewer’s eye flows across the cut naturally.
For example, you can cover the camera with your hand at the end of one clip. Then start the next clip with your hand moving away. Another idea is to spin in one location and finish the spin in a new place.
Plan match cuts when you film. Keep the subject in the same spot of the frame in both clips. Then join them with a plain cut or a very short blur.
Best Transitions for Each Type of Video
Different videos need different transition styles. The right choice supports your story instead of distracting from it. Here is a quick guide.
| Video Type | Best Transitions |
|---|---|
| TikTok trends | Zoom, flash, shake |
| Travel reels | Whip pan, slide, match cuts |
| Outfit changes | Flash, spin, hand cover cuts |
| Wedding and family | Blur dissolve, fade |
| Gaming montages | Glitch, flash, zoom |
| Business promos | Slide, simple fade |
| Tutorials | Slide, plain cuts |
How to Make a Transition Smoother
Even good transitions can look rough if the clips around them are not ready. A few small tweaks make every cut feel smooth. Try these steps.
- Trim a few frames of dead space at the end of the first clip.
- Start the second clip on movement, not a still frame.
- Match the brightness of both clips with Adjust.
- Add a light motion blur effect over the cut.
- Keep the subject in a similar spot of the frame.
Color matching is often the biggest fix. A bright clip next to a dark clip makes any transition feel jumpy. Use the same filter on both clips for a clean blend.
Transitions for Photo Slideshows
Slideshows need gentle, steady transitions that do not distract from the photos. The right choice keeps the video calm and easy to watch. These styles work best.
| Style | Why It Works |
|---|---|
| Fade | Soft and classic |
| Blur dissolve | Dreamy and modern |
| Slide | Clean and organized |
| Zoom out | Adds gentle motion |
Use the same transition for every photo with Apply to all. Set the length to around half a second. Add slow keyframe zooms on each photo for extra life.
Common Transition Mistakes
New editors often make the same few mistakes with transitions. Avoiding them makes your videos look more professional right away. Here are the most common ones.
- Using a different transition at every cut
- Making transitions too long for fast music
- Adding transitions where a plain cut works better
- Placing transitions off the beat
- Using loud flashy effects on calm videos
A simple rule helps a lot. Use transitions to support the music and story, not to show off. Most pro edits use more plain cuts than effects.
Transitions Not Working or Missing
Sometimes you cannot add a transition or it does not appear. This usually has a simple cause. Here are the quick fixes.
| Problem | Fix |
|---|---|
| No white box between clips | Make sure both clips sit on the main track |
| Gap between clips | Move the clips together so they touch |
| Transition looks cut short | Make the clips longer than the transition |
| Library will not load | Check internet and update CapCut |
| Pro label on transition | Pick a free style or use Pro |
If transitions still do not show, read our full guide on CapCut transitions not showing. It covers every cause in detail. Most problems take only a minute to fix.
Free vs Pro Transitions
Most CapCut transitions are free to use. Some premium styles carry a Pro label. These need a Pro plan before you can export.
If you see a Pro label, you can choose a similar free style instead. Many free transitions look just as good. For full plan details, read our post on CapCut Pro price.
Tips From Our Editors
The team at getcapcutapk.in/ has tested hundreds of transitions on real projects. These tips help most. Try them in your next edit.
- Pick one main style for the whole video
- Keep transitions short for fast songs
- Add a sound effect to every flashy transition
- Plan match cuts while filming
- Use Apply to all for quick slideshows
- Preview at full speed before export
Conclusion
CapCut transitions connect your clips and set the mood of your video. Tap the box between two clips, pick a style and set the duration. Zoom, whip pan, flash, glitch, spin and blur dissolve are the most popular styles right now.
Sync transitions to music beats, keep them short for fast songs and repeat one style for a clean look. Build custom zooms with keyframes and plan match cuts when you shoot. Add matching sound effects to make every cut land.
For more editing guides and tips, keep visiting getcapcutapk.in/. Also explore our full list of CapCut features to learn more tools. Happy editing.
Frequently Asked Questions
Tap the small white box between two clips on the timeline. Pick a transition and set the duration. Tap the check mark to apply it.
Zoom, whip pan, flash, glitch, spin and blur dissolve are the most popular. They work with most songs and footage. Many trend videos use them on beats.
Most social media transitions work best between 0.2 and 0.6 seconds. Fast songs need shorter transitions. Calm videos can use longer ones.
Yes, tap Apply to all before you confirm the transition. CapCut adds the same style to every cut. You can still edit single transitions afterward.
The clips may have a gap or sit on an overlay track. Transitions only work between clips that touch on the main track. Move the clips together and try again.