How to Compress and Convert Video in CapCut Without Blur
Large video files are hard to upload, send and store. Some apps and websites also limit file size. This guide shows you how to compress video in CapCut and convert it without making it blurry.
You will learn how file size works, which export settings make files smaller and how to keep quality high. We also cover format conversion, sizes for each platform, sending videos in chat apps and common problems. The team at getcapcutapk.in/ compresses videos every week for clients, websites and social media.
Compression is always a balance between file size and quality. The right settings give you small files that still look sharp. For an overview of the app, visit our CapCut Pro APK home page.
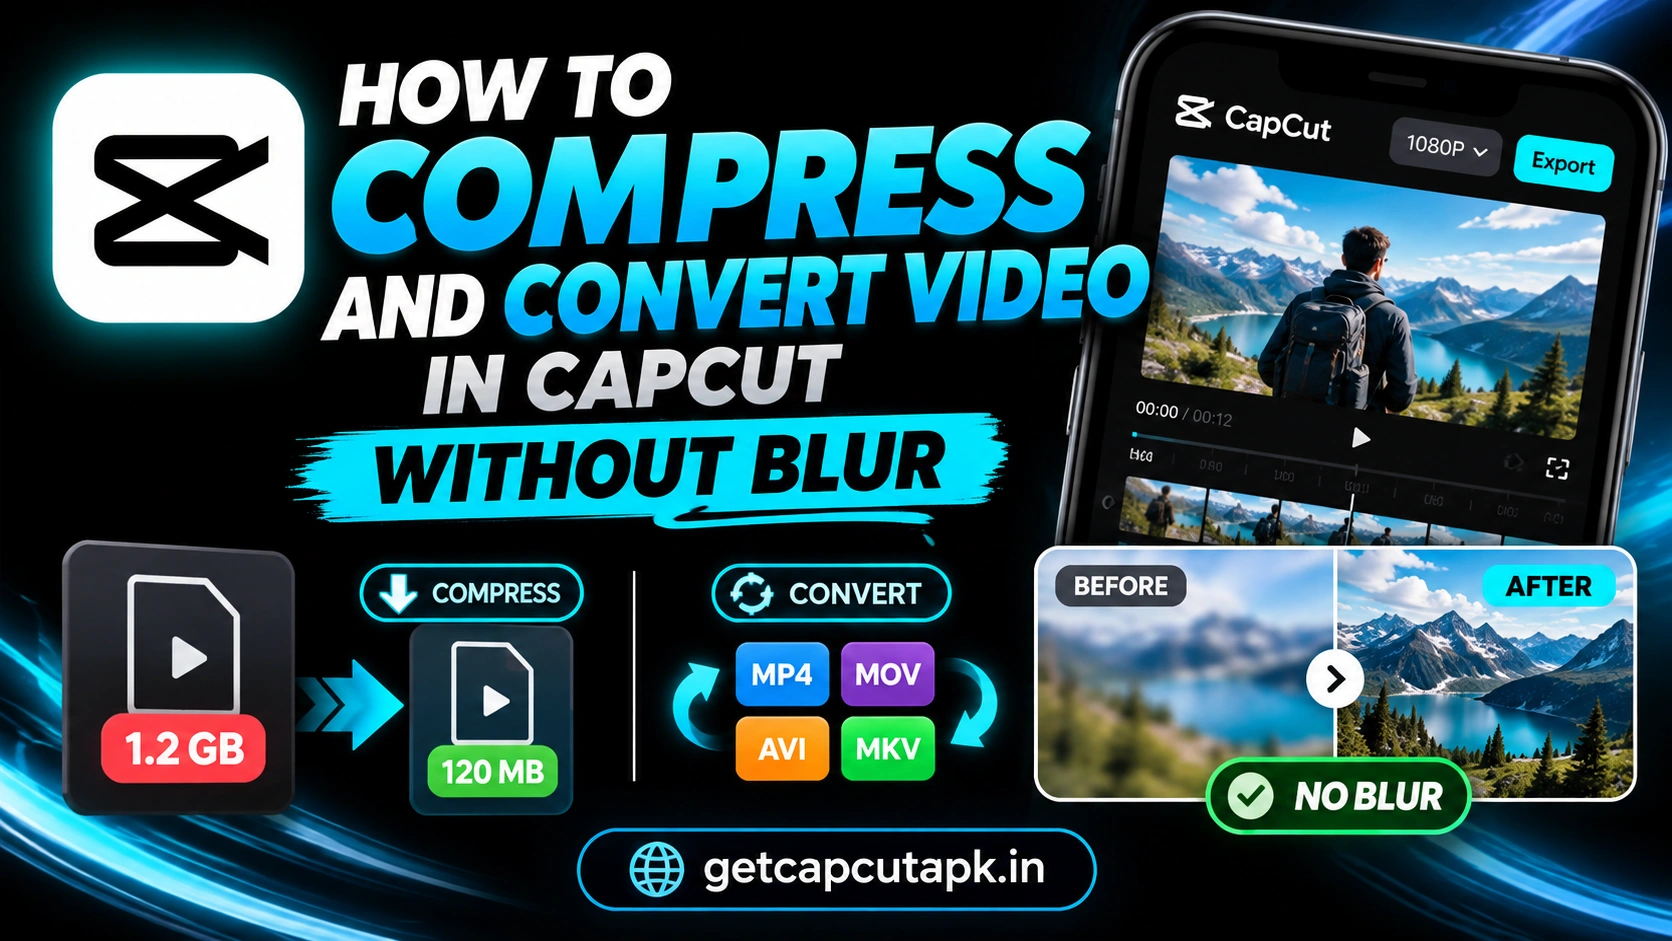
What Makes a Video File Large?
Several settings decide how large a video file will be. Knowing them helps you shrink files the smart way. Here are the main factors.
| Factor | Effect on File Size |
|---|---|
| Resolution | Higher resolution means bigger files |
| Frame rate | 60 fps is larger than 30 fps |
| Bitrate | Higher bitrate means bigger, sharper files |
| Length | Longer videos are bigger |
| Format and codec | Some formats compress better |
Bitrate has the biggest impact on both size and quality. Lowering it too much creates blocky, blurry video. Lowering resolution and frame rate first often keeps quality better.
When Should You Compress a Video?
Compression is useful in many situations. It saves time and storage. Here are common reasons.
- Upload limits on websites or email
- Sending videos through messaging apps
- Saving storage on your phone or computer
- Faster uploads on slow internet
- Website videos that need to load quickly
- Sharing drafts with clients for review
For final uploads to YouTube or social media, you usually do not need heavy compression. These platforms compress videos themselves. Upload high quality files and let them handle it.
How to Compress Video in CapCut on Mobile
CapCut compresses video through its export settings. You choose a lower resolution, frame rate or bitrate. Here is how.
- Open your project or import the video you want to compress.
- Tap the export settings near the Export button.
- Lower the resolution, for example from 4K to 1080p or 720p.
- Lower the frame rate, for example from 60 to 30 fps.
- Adjust the bitrate or quality if your version offers it.
- Check the estimated file size if shown.
- Tap Export.
Many versions show an estimated file size before export. Use it to find the right balance. Try a short test export if you are unsure.
How to Compress Video in CapCut on PC
The desktop app gives you more detailed export control. You can often set bitrate, format and codec. Here is how.
- Open your project and click Export.
- Choose a lower resolution.
- Set the frame rate to 30 fps for most content.
- Choose a bitrate option, such as Recommended or Lower.
- Pick the format, usually MP4.
- Click Export.
Some desktop versions offer a codec choice, like H.264 or HEVC. HEVC often makes smaller files at similar quality. However, older devices may not play HEVC well.
Recommended Settings for Smaller Files
Here are good starting points for common needs. Adjust them based on your video and file size limits. Always check the result.
| Goal | Resolution | Frame Rate | Bitrate |
|---|---|---|---|
| Send by chat app | 720p | 30 fps | Lower |
| Email or upload limit | 720p or 1080p | 30 fps | Lower to recommended |
| Social media | 1080p | 30 fps | Recommended |
| Website background | 720p or 1080p | 24 or 30 fps | Lower |
| High quality archive | Original | Original | Higher |
How to Keep Quality While Compressing
Compressing too much can make your video blurry or blocky. A few tips keep quality high. Follow these.
Lower Resolution Before Bitrate
A 1080p video at a good bitrate often looks better than a 4K video at a very low bitrate. Lower the resolution first. Then adjust bitrate if needed.
Use 30 fps for Most Content
Most talking videos and tutorials look fine at 30 fps. Use 60 fps only for fast action or games. This cuts file size noticeably.
Trim Unneeded Parts
Shorter videos are smaller. Cut long intros, pauses and endings. This reduces size without touching quality.
Avoid Double Compression
Each time you compress a video, quality drops a little. Avoid exporting the same video again and again. Always export from the original project when possible.
How to Convert Video Formats
Sometimes you need a different format for an app or device. CapCut can help convert videos by importing and exporting them. Here is how.
- Import the video into a new CapCut project.
- Open export settings.
- Choose the format you need, such as MP4 if available.
- Choose resolution and frame rate.
- Export the new file.
MP4 is the most widely supported format. It works on phones, computers and most websites. Choose it unless you need another format for a specific reason.
Common Format Uses
| Format | Common Use |
|---|---|
| MP4 | Almost everything |
| MOV | Apple editing workflows |
| GIF | Short loops without sound, where supported |
How to Fix Variable Frame Rate Videos
Screen recordings and some phone videos use variable frame rate. This can cause audio sync problems and choppy playback. Converting to a constant frame rate fixes it.
Import the video into CapCut and export it at a fixed frame rate like 30 fps. Use the new file in your projects. This simple step solves many playback problems.
Read our guide on CapCut video not showing if converted videos still have issues. It covers black screens and missing media. Most file problems are easy to fix.
Sending Videos in Chat Apps
Messaging apps often compress videos heavily. This can make them look blurry. A few tips help.
- Export at 720p or 1080p before sending
- Send as a document or file instead of a video when the app allows
- Use cloud links for large files
- Avoid sending the same video many times
Sending as a file keeps the original quality. The receiver can save it without extra compression. This is useful for sharing drafts with clients.
File Sizes for Common Platforms
Different platforms have different limits and preferences. Check each platform’s current rules, since they change over time. Here is a general guide.
| Platform | Tip |
|---|---|
| YouTube | Upload high quality, platform compresses |
| TikTok and Reels | 1080p is usually enough |
| Compress or send as a file | |
| Use cloud links for large files | |
| Websites | Small, optimized files load faster |
For a full guide to video sizes, read our post on CapCut video size. It covers ratios and resolutions for each platform. The right size helps your video look its best.
Compressing Videos for Websites
Websites need small video files so pages load fast. Large videos can slow your site and hurt user experience. A few settings keep website videos light.
Export background videos at 720p or 1080p with a lower bitrate. Remove the audio track if the video plays silently. Keep loops short, often under 15 seconds.
Upload videos to a video host when possible instead of your own server. Hosts deliver video efficiently to every device. The team at getcapcutapk.in/ uses short, compressed clips for page backgrounds.
Compressing Long Videos
Long videos like lectures, streams and events can be huge. Compressing them takes more planning. Here are tips.
Split Into Parts
Break long recordings into shorter parts. Smaller files are easier to upload and share. Viewers also find short parts easier to watch.
Use Lower Frame Rates for Static Content
Lectures and slides do not need 60 fps. Use 30 fps or even 24 fps for static content. This cuts file size a lot.
Check Audio Settings
Audio usually takes little space, but very high audio settings add up on long videos. Standard audio quality is fine for speech. Keep music projects at higher quality.
How to Estimate File Size
Knowing roughly how big a file will be helps you choose settings. CapCut often shows an estimate on the export screen. Use it to compare options.
| Setting Change | Effect |
|---|---|
| 4K to 1080p | Much smaller file |
| 60 fps to 30 fps | Noticeably smaller file |
| Higher to recommended bitrate | Smaller with little visible loss |
| Trim 30 percent of length | About 30 percent smaller |
Try one change at a time and watch the estimate. Stop when the file fits your limit. Then check quality on a phone.
Common Problems and Fixes
A few problems can appear when compressing videos. Most have simple fixes. The table below lists them.
| Problem | Fix |
|---|---|
| Video looks blurry | Raise bitrate or resolution a little |
| File still too big | Lower resolution or trim the video |
| Audio out of sync | Export at a constant frame rate |
| Video will not play on a device | Use MP4 with H.264 |
| Export fails | Free up storage and try again |
Compression Checklist
Use this checklist before you compress a video. It helps you get small files that still look good. Run through it quickly.
- Do you really need to compress, or can you upload the original?
- Did you trim unneeded parts?
- Did you lower resolution before bitrate?
- Is the frame rate set to 30 fps for normal content?
- Did you check the result on a phone?
Compression on Older Phones
Exporting large videos can be slow on older phones. Compression settings also help here. Lower settings export faster and use less storage.
Close other apps before you export. Choose 720p or 1080p at 30 fps for the fastest results. Plug in your phone during long exports to keep it running at full speed.
Should You Use HEVC?
HEVC, also called H.265, can make smaller files with similar quality. It is useful when storage is tight. However, it is not supported everywhere.
Use HEVC for personal storage on newer devices. Use H.264 MP4 for sharing with others and uploading to websites. When in doubt, H.264 is the safer choice.
Keep Your Original Files
Before you compress, always keep a copy of the original video. Compressed files lose some detail that you cannot get back. If you need a higher quality version later, you can export again from the original.
Key Takeaways
Here are the most important points from this guide on compression. Keep them in mind for your next export. They cover the steps that make the biggest difference.
- Lower resolution and frame rate before cutting bitrate
- Trim unneeded parts to shrink files without losing quality
- Use MP4 for the widest support
- Export from the original project to avoid double compression
Conclusion
Compressing video in CapCut is mostly about smart export settings. Lower the resolution and frame rate first, then adjust bitrate if needed. Trim unneeded parts and avoid compressing the same video many times.
Use MP4 for the widest support and export at a constant frame rate to fix sync problems. For chat apps, send videos as files or use cloud links. For final uploads to big platforms, high quality files are usually best.
For more export guides and editing tips, keep visiting getcapcutapk.in/. Also read our guide on how to enhance video quality in CapCut for sharper results. Happy editing.
Frequently Asked Questions
Lower the resolution, frame rate or bitrate in export settings. Trim unneeded parts. Check the estimated file size before export.
Heavy compression can cause blur. Lower resolution before bitrate to keep quality. Test with a short export first.
MP4 with H.264 works on almost every device and website. HEVC can make smaller files but may not play everywhere. Choose MP4 for the widest support.
Send it as a document or file instead of a video. Or use a cloud link. Export at 720p or 1080p first.
Yes, import the video and export it in the format you need. MP4 is the most common choice. Some versions offer more format options on desktop.