How to Enhance Video Quality in CapCut for Sharp HD Videos
Blurry, dark or grainy videos lose viewers fast. The good news is that CapCut has several tools to make your footage look sharper and cleaner. This guide shows you how to enhance video quality in CapCut for crisp HD results.
You will learn how to use the enhance tools, fix colors and light, add sharpness and choose the best export settings. We also share filming tips that improve quality before you even edit. The team at getcapcutapk.in/ has tested these methods on many phone clips.
No editing tool can turn a very poor clip into a perfect one. But the right steps can make a big difference in how your videos look. For an overview of the app, visit our CapCut Pro APK home page.
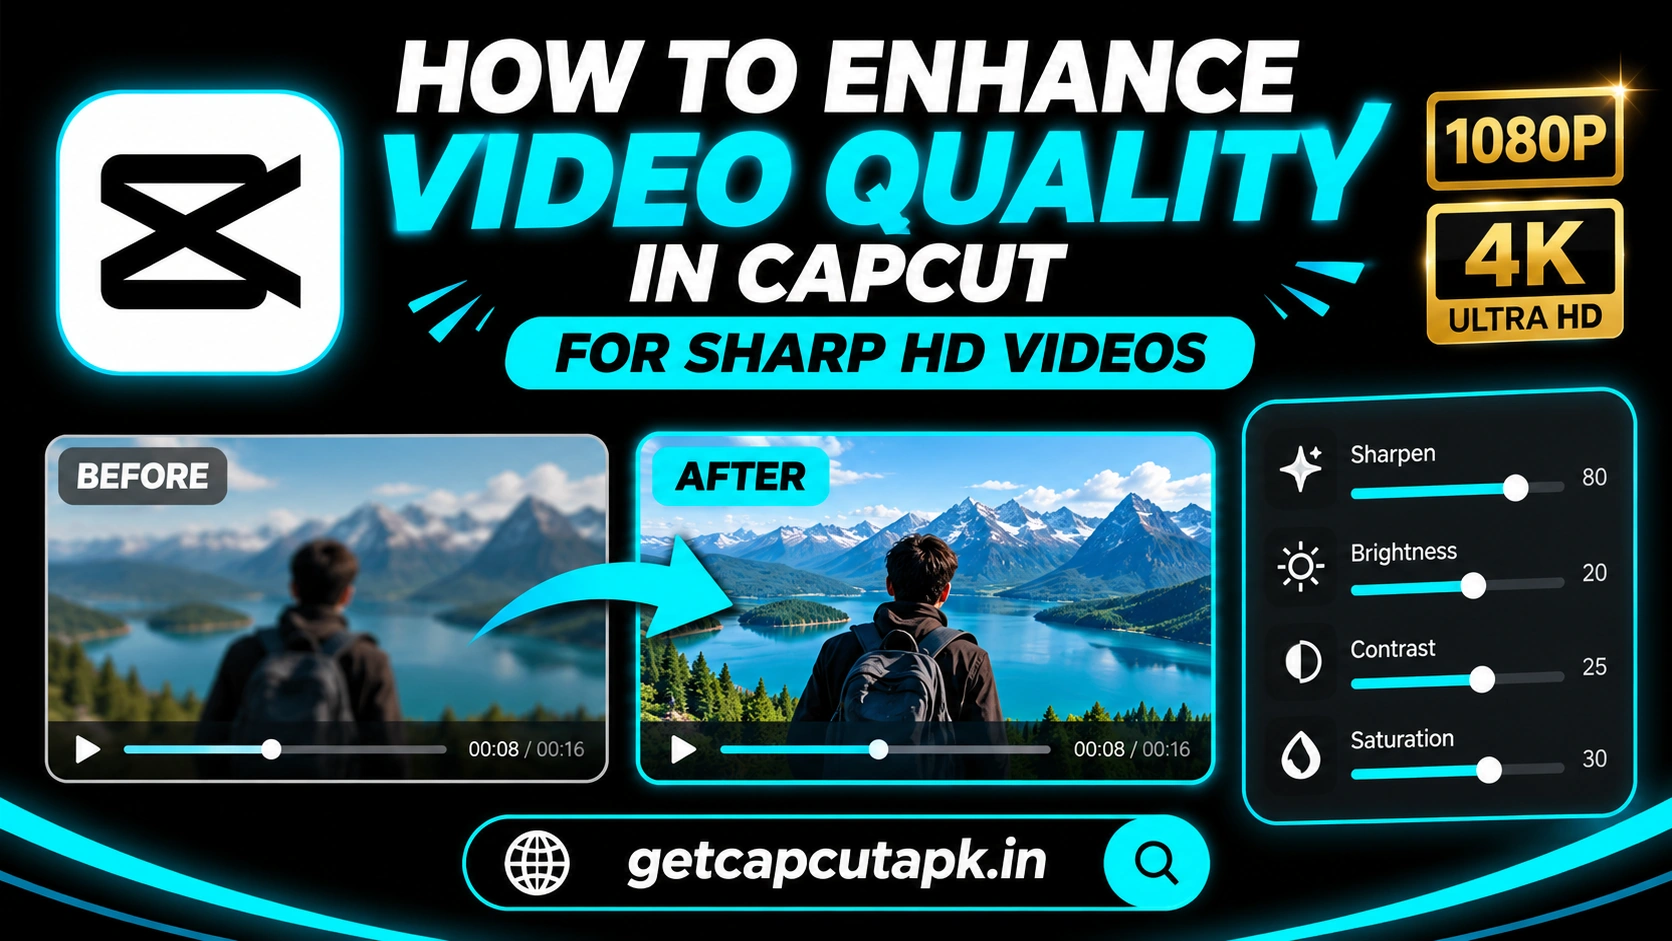
Why Videos Look Low Quality
Before you fix quality, it helps to know what causes the problem. Most low quality videos have one or more of these issues. Each one has its own fix.
| Problem | Common Cause | CapCut Fix |
|---|---|---|
| Blurry image | Low resolution or motion blur | Enhance and sharpen |
| Dark footage | Poor lighting | Adjust brightness and exposure |
| Dull colors | Flat camera settings | Saturation and filters |
| Grainy look | Low light noise | Noise reduction |
| Shaky video | Handheld filming | Stabilize |
| Blurry after upload | Low export settings | Higher resolution and bitrate |
Find which issues your clip has, then apply the matching fixes. You may not need every tool. Small, targeted changes often look best.
Step 1 Use the Enhance Quality Tool
CapCut includes AI tools that improve video quality automatically. The names may include Enhance quality, Video upscale or similar. They add detail and reduce blur.
- Select your clip on the timeline.
- Look for Enhance quality or a similar option in the toolbar.
- Choose the level, such as HD or UHD, if offered.
- Wait while CapCut processes the clip.
- Compare the before and after.
Processing can take time, especially for long clips. Some enhance options may need a Pro plan or have limits. Use them on key clips rather than every clip.
Step 2 Adjust Brightness and Exposure
Dark footage hides detail and looks low quality. The Adjust tool lets you brighten clips by hand. This is one of the easiest ways to improve a video.
- Select your clip.
- Tap Adjust.
- Raise Brightness or Exposure a little.
- Raise Shadows to reveal detail in dark areas.
- Lower Highlights if bright areas look washed out.
Make small changes and compare often. Too much brightness can make the video look flat. Aim for a natural, balanced look.
Step 3 Fix Colors
Good color makes a video look alive and professional. Flat or dull colors make even sharp clips look weak. CapCut gives you simple color controls.
| Setting | What It Does | Tip |
|---|---|---|
| Saturation | Makes colors stronger | Raise a little for dull clips |
| Contrast | Separates lights and darks | Raise slightly for punch |
| Temperature | Makes the image warmer or cooler | Fix blue or orange tints |
| Tint | Fixes green or pink casts | Small changes only |
| HSL | Adjusts single colors | Boost skies or skin tones |
Filters can also help with color, but use them gently. Lower the filter strength for a natural look. One consistent filter across clips makes your video feel unified.
Step 4 Add Sharpness
The Sharpen setting makes edges look crisper. It helps clips that look a little soft. But too much sharpness creates harsh lines and noise.
- Select your clip and tap Adjust.
- Find Sharpen.
- Raise it slowly while you watch the preview.
- Stop when edges look clear but natural.
Zoom into the preview to check faces and text. If you see white halos around edges, lower the sharpness. Subtle sharpening usually looks best.
Step 5 Reduce Noise and Grain
Low light footage often looks grainy. Some CapCut versions offer noise reduction for video. It smooths out grain while keeping detail.
Apply noise reduction before you sharpen. Sharpening first can make grain stronger. Check the result on a big screen if you can.
If your version does not include video noise reduction, try a gentle blur filter at very low strength. You can also brighten the clip a little less to hide grain. The best fix is filming with more light.
Step 6 Stabilize Shaky Clips
Shaky footage looks less professional, even when it is sharp. The Stabilize tool smooths out camera movement. It also makes the video easier to watch.
Select the clip and tap Stabilize, then choose a level. Stabilization crops the frame a little, so check the edges. Read our guide on how to stabilize shaky video in CapCut for full steps.
Step 7 Use the Best Export Settings
Many videos look blurry only because of low export settings. CapCut lets you choose resolution, frame rate and sometimes bitrate. Pick settings that match your platform.
| Platform | Resolution | Frame Rate | Quality |
|---|---|---|---|
| TikTok | 1080p | 30 or 60 fps | High |
| Instagram Reels | 1080p | 30 fps | High |
| YouTube Shorts | 1080p or 4K | 30 or 60 fps | High |
| YouTube videos | 4K if your source is 4K | Same as source | High |
Never export at a higher resolution than your source can support without enhancing it first. A 720p clip exported in 4K will not look sharper on its own. Use enhance tools for real improvement.
How to Keep Quality When You Upload
Social apps compress videos, which can lower quality. A few tips help your videos stay sharp after upload. Follow these steps.
- Upload over Wi-Fi, not weak mobile data
- Turn on high quality uploads in the app settings if available
- Export at 1080p or higher
- Avoid exporting the same video many times
- Upload the original export, not a saved copy from chat apps
Chat apps like WhatsApp compress videos heavily. Do not send a video through chat before uploading it. Always use the file saved straight from CapCut.
Filming Tips for Better Quality
The best way to get high quality video is to start with good footage. Small filming changes save a lot of editing time. Try these tips.
| Tip | Why It Helps |
|---|---|
| Film in good light | Less noise and sharper detail |
| Clean your lens | Removes haze and blur |
| Use the main camera | Better sensor than the front camera |
| Record in 1080p or 4K | More detail to work with |
| Use 60 fps for motion | Smoother action and slow motion |
| Hold the phone steady | Less blur and shake |
Lighting matters more than any other setting. Face a window or film outdoors in the shade. Even a cheap phone looks great in good light.
Enhance Quality on CapCut PC
The desktop app offers the same quality tools with more control. You can see details on a bigger screen. This makes color and sharpness changes easier.
Select a clip and open the Adjust and Video tabs in the properties panel. Look for enhance, sharpen and noise options. For more desktop tips, read our guide on how to use CapCut on PC.
How to Fix Specific Problem Clips
Some clips need a special approach. The table below shows quick recipes for common problem footage. Use them as a starting point and adjust to taste.
| Problem Clip | Quick Recipe |
|---|---|
| Night video with grain | Noise reduction, small brightness lift, low sharpen |
| Backlit face | Raise shadows, lower highlights, warm temperature |
| Old phone video | Enhance quality, light sharpen, mild saturation |
| Washed out outdoor clip | Raise contrast, lower highlights, add saturation |
| Blue indoor light | Warm the temperature, adjust tint |
Work on one clip until it looks right. Then copy its settings to similar clips. On many versions, you can use Copy attributes and paste them onto other clips.
How to Match Quality Across Clips
A video looks low quality when clips do not match each other. One bright clip next to a dark clip feels jarring. Matching your clips makes the whole video feel polished.
- Pick the best looking clip as your reference.
- Adjust brightness and color on the other clips to match it.
- Apply one gentle filter to all clips.
- Play the full video and check every cut.
This step takes a few minutes but makes a big difference. Viewers notice consistent color even if they cannot explain why. It is one of the easiest ways to look professional.
Enhance Photos Inside Your Videos
Many videos mix photos and clips. Low quality photos stand out next to sharp video. You can improve photos too.
Use the same Adjust tools on photos in your timeline. For very small or old photos, try an AI upscale tool if your version has one. The team at getcapcutapk.in/ also uses Hypic for quick photo fixes before importing them.
Should You Use 4K or 1080p?
Many creators wonder whether 4K is worth it. The answer depends on your source footage and platform. Here is a simple guide.
Use 4K when your clips were filmed in 4K and you post on YouTube or big screens. Use 1080p for TikTok, Reels and Shorts, since phones show it sharply. 1080p files also upload faster and use less storage.
Common Mistakes to Avoid
Many users try too hard to fix quality and make things worse. These mistakes are common. Avoiding them keeps your video natural.
- Over-sharpening, which creates harsh lines
- Over-saturating, which makes skin look orange
- Over-brightening, which washes out colors
- Stacking many filters on one clip
- Exporting at low settings after all the work
Enhance Quality Checklist
Use this short checklist before every export. It helps you catch common quality problems. Run through it in under a minute.
- Is every clip bright enough to see faces clearly?
- Do colors look natural and match across clips?
- Is sharpness clear without harsh edges?
- Is shaky footage stabilized?
- Is the export set to 1080p or higher?
- Will you upload over Wi-Fi with high quality on?
If you answer yes to all six, your video is ready. If not, fix that step and check again. This habit keeps every upload looking its best.
Quality Tips for Faces
Faces are what viewers look at first. A clear, well-lit face makes the whole video feel higher quality. A few small tweaks help a lot.
Raise shadows a little to brighten faces in dark scenes. Keep saturation moderate so skin tones stay natural. Use a soft retouch only if your version offers it, and keep it light.
Key Takeaways
Here are the most important points from this guide on video quality. Keep them in mind for your next project. They cover the steps that make the biggest difference.
- Use Enhance quality on your most important clips
- Fix light and color with small Adjust changes
- Sharpen gently after noise reduction
- Export at 1080p or higher and upload over Wi-Fi
Conclusion
Enhancing video quality in CapCut is about small, smart fixes. Use the enhance tool, adjust brightness and color, sharpen gently and reduce noise. Stabilize shaky clips and export with the right settings.
Good filming habits make the biggest difference of all. Film in good light, clean your lens and record at a high resolution. Then CapCut can make your clips look even better.
For more feature guides and editing tips, keep visiting getcapcutapk.in/. Also explore our full list of CapCut features to learn more tools. Happy editing.
Frequently Asked Questions
Use the Enhance quality tool, then adjust brightness and sharpness. Export at 1080p or higher. Film in good light for the best results.
Some enhance options are free, while others may need Pro or have limits. Availability depends on your version and region. Check the labels in your app.
Your export settings may be too low. Choose 1080p or higher. Also check that your source clip is sharp.
Exporting in 4K alone does not add detail. AI upscale tools can improve sharpness. Results depend on the original clip.
Social apps compress videos. Upload over Wi-Fi and turn on high quality uploads. Export at 1080p from CapCut.