How to Use Mask in CapCut for Creative Video Effects Easily
Masks are one of the most creative tools in CapCut, yet many users never try them. With a mask, you can show part of one clip and hide the rest. This guide shows you how to use mask in CapCut for creative video effects.
You will learn what masks are, how to add them, how each shape works and how to use feather and invert. We also cover popular mask effects like split screens, clone videos, text reveals and moving masks with keyframes. The team at getcapcutapk.in/ uses masks in many travel, music and creative edits.
Masks sound technical, but they are easy once you try them. A few simple steps can create effects that look like pro editing. For an overview of the app, visit our CapCut Pro APK home page.
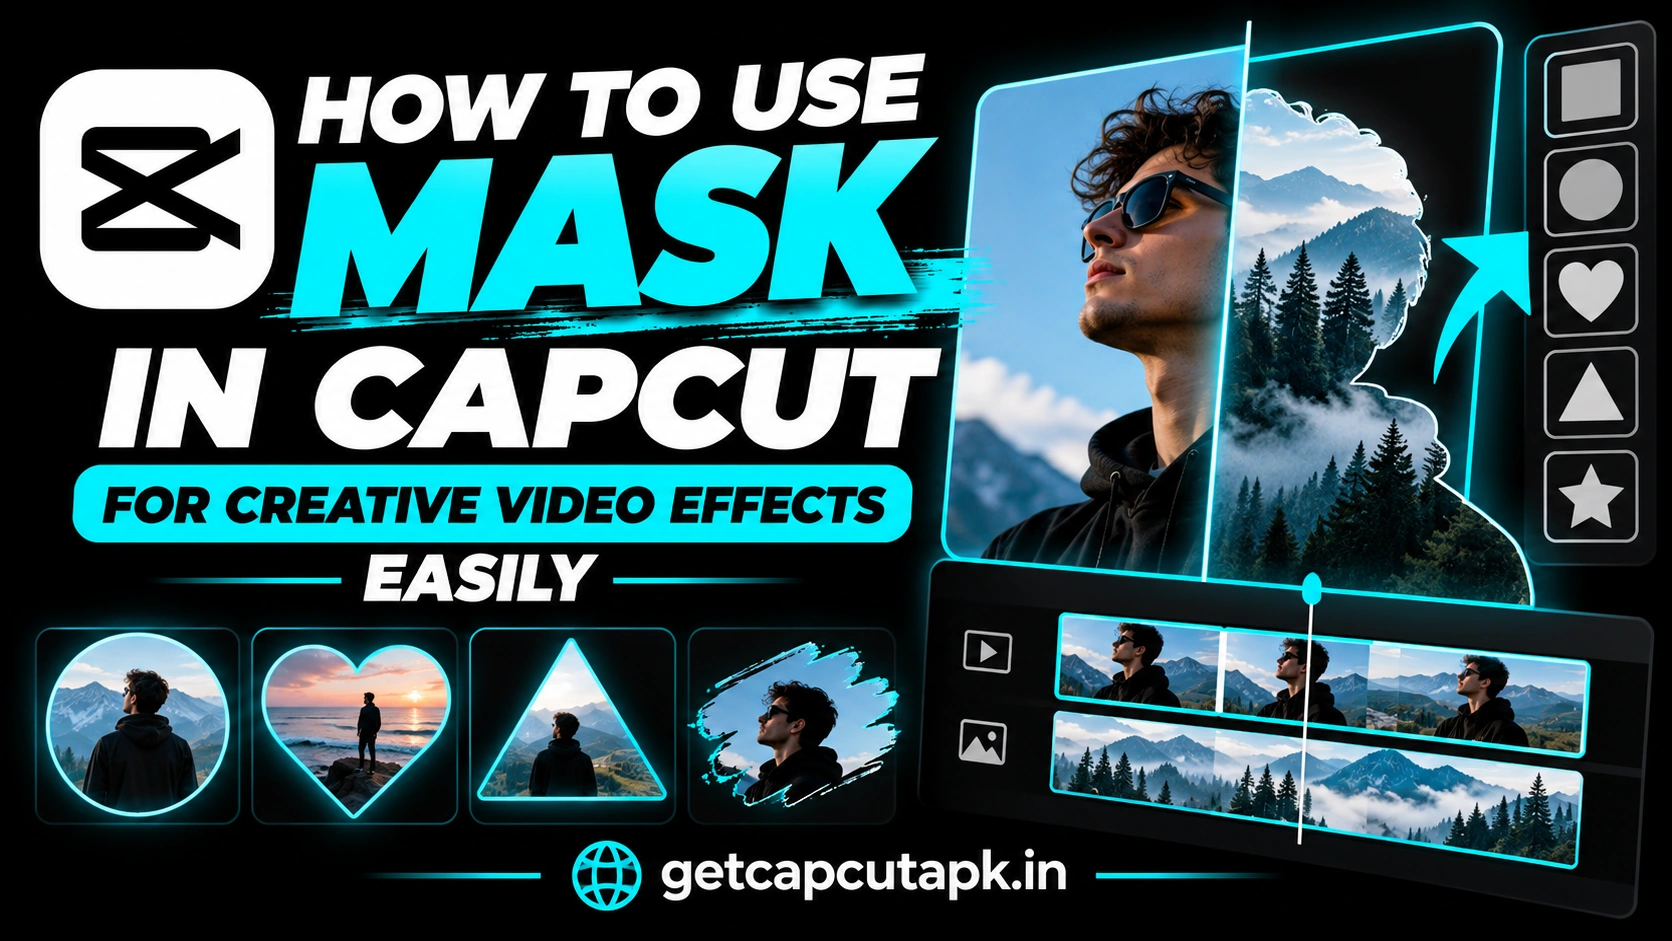
What Is a Mask in CapCut?
A mask is a shape that controls which part of a clip is visible. Everything inside the mask shows, and everything outside is hidden. When you place a masked clip over another clip, the hidden part reveals the clip below.
Masks let you blend two clips in creative ways. You can split the screen, create a window effect or reveal text from behind an object. You can also animate masks with keyframes for moving reveals.
Masks work on clips in the main track and on overlays. They are most useful on overlays, since you need something underneath to show through. You will find the Mask tool in the editing toolbar when you select a clip.
Mask Shapes in CapCut
CapCut offers several mask shapes. Each one creates a different type of effect. Here are the common shapes.
| Shape | What It Does | Best For |
|---|---|---|
| Linear | Splits the frame with a straight line | Split screens and wipes |
| Mirror | Shows a band between two lines | Letterbox and stripe effects |
| Circle | Shows a round area | Spotlights and portal effects |
| Rectangle | Shows a box area | Picture frames and windows |
| Heart | Shows a heart shape | Love and romantic edits |
| Star | Shows a star shape | Fun and playful edits |
| Text | Shows the clip through letters | Title reveals |
Some versions also include brush or custom masks. These let you draw the area you want to keep. Shapes may vary by app version.
How to Add a Mask in CapCut
Adding a mask is simple. You will usually work with an overlay so the mask has something to reveal. Follow these steps.
- Add your main clip to the timeline.
- Tap Overlay, then Add overlay, and choose a second clip.
- Resize the overlay so it fills the frame.
- Tap the overlay clip to select it.
- Tap Mask in the bottom toolbar.
- Choose a shape, such as Linear or Circle.
- Drag, resize and rotate the mask on the preview.
- Tap the check mark to apply.
Play the video to see the effect. The overlay shows only inside the mask, and the main clip shows everywhere else. Adjust the mask until the blend looks right.
How to Feather a Mask
Hard mask edges can look harsh and fake. Feather softens the edge so the two clips blend smoothly. This is one of the most important mask settings.
To feather, look for the feather handle on the mask, often an arrow icon. Drag it to make the edge softer. On desktop, use the Feather slider in the properties panel.
A small feather works for sharp, graphic looks. A large feather creates soft, dreamy blends. Try different amounts to see what suits your video.
How to Invert a Mask
The Invert button flips the mask. What was visible becomes hidden, and what was hidden becomes visible. This is useful when you want the opposite area to show.
For example, a circle mask normally shows the inside of the circle. With invert, it shows everything except the circle. This creates a hole that reveals the clip below.
Invert is great for spotlight effects and frames. Try it whenever a mask looks backward. It takes just one tap.
Popular Mask Effects to Try
Masks unlock many creative effects. Here are some of the most popular ones. Each one works well on social media.
Split Screen
- Place two clips, one as the main track and one as an overlay.
- Add a Linear mask to the overlay.
- Move the line to the center of the frame.
- Add a little feather for a soft edge.
Now each clip fills half the screen. This is great for before and after videos and comparisons. You can also rotate the line for a diagonal split.
Clone Effect
- Film two clips of the same person in different spots, with the camera fixed.
- Put one clip on the main track and one as an overlay.
- Add a Linear or Rectangle mask to the overlay around one person.
- Feather the edge so the join is invisible.
Now the same person appears twice in one shot. A tripod is very important for this effect. Any camera movement will break the illusion.
Circle Spotlight
Add a Circle mask to a bright copy of your clip over a darker copy. Place the circle on your subject. This creates a spotlight that draws the eye.
Text Behind Subject
Place text between your main clip and a masked copy of the same clip. Mask the copy around your subject with a brush or shape. The text appears behind the person.
How to Animate a Mask With Keyframes
Moving masks create reveals and wipes. You animate them with keyframes. Here is how.
- Select the masked clip.
- Move the playhead to where the motion starts.
- Add a keyframe.
- Move the playhead forward.
- Tap Mask and move or resize the mask.
- A new keyframe is added automatically.
For example, you can start a linear mask off screen and move it across to wipe in a new scene. Or grow a circle from small to full screen for a portal effect. Read our guide on how to add keyframes in CapCut for more motion tips.
Mask Effects for Transitions
Masks can create custom transitions that look unique. They are a great alternative to preset transitions. Here are a few ideas.
| Mask Transition | How It Looks |
|---|---|
| Linear wipe | New scene slides in behind a moving line |
| Circle grow | New scene expands from the center |
| Object wipe | A person or pole passes and reveals a new scene |
| Heart reveal | New scene appears inside a growing heart |
The object wipe is a favorite in travel videos. As something passes in front of the camera, the mask reveals the next location. Read our guide on CapCut transitions for more transition ideas.
How to Use the Text Mask
The text mask shows your video only through the shape of letters. This creates bold title reveals for intros and travel videos. It is easy to set up.
- Add a background color or blurred clip on the main track.
- Add your video as an overlay.
- Select the overlay and tap Mask.
- Choose the Text mask if your version has it.
- Type a short word, like a city name.
- Resize the text to fill most of the frame.
Use a bold, thick font so the video shows clearly through the letters. Short words of four to eight letters work best. Animate the text size with keyframes for a zoom reveal.
How to Make a Portal Effect
A portal effect makes it look like a doorway opens into a new scene. It is popular in travel and magic edits. A circle mask and keyframes make it simple.
- Put the first scene on the main track.
- Add the second scene as an overlay.
- Add a Circle mask to the overlay and make it tiny.
- Add a keyframe, then move forward one second.
- Grow the circle until it fills the frame.
Add a glow or light effect around the circle for extra style. A whoosh sound effect makes the moment feel bigger. This effect works best on a strong beat.
Using Masks on CapCut PC
The desktop app gives you precise control over masks. You can type exact values for position, size, rotation and feather. This is helpful for clean split screens and detailed reveals.
Select an overlay clip and open the Mask tab in the properties panel. Choose a shape and adjust it in the player or with the sliders. For more desktop tips, read our guide on how to use CapCut on PC.
Best Mask Ideas by Video Type
Different videos suit different mask effects. Picking the right idea saves time and fits your story. Use this table for inspiration.
| Video Type | Mask Idea |
|---|---|
| Travel | Object wipe between locations |
| Fitness | Before and after split screen |
| Fashion | Clone effect with two outfits |
| Music | Circle spotlight on the singer |
| Intros | Text mask title reveal |
| Love edits | Heart shape reveal |
Plan your mask effect before you film. Some effects, like clones and object wipes, need special shots. A little planning makes the edit much easier.
Mask Settings Quick Guide
Here is a short summary of the main mask controls. Keep it handy until the tools feel natural. Each one changes how the blend looks.
| Control | What It Changes |
|---|---|
| Position | Where the mask sits |
| Size | How big the visible area is |
| Rotation | The angle of the mask |
| Feather | How soft the edge is |
| Invert | Which side is visible |
Common Mask Problems and Fixes
A few problems can come up when you use masks. Most of them are quick to fix. The table below lists them.
| Problem | Fix |
|---|---|
| Mask option missing | Select a video clip or overlay, then look again |
| Mask shows nothing below | Add a clip on the main track under the overlay |
| Hard ugly edges | Increase feather |
| Wrong area visible | Tap Invert |
| Clone effect looks off | Use a tripod and keep light the same |
If the overlay does not cover the full frame, the mask may reveal black areas. Resize the overlay to fill the screen first. Then add the mask.
Tips From Our Editors
The team at getcapcutapk.in/ uses masks in many creative edits. These tips help most. Try them in your next project.
- Always use a tripod for clone and split screen effects
- Add feather to almost every mask
- Match the color and light of both clips
- Use keyframes for moving reveals
- Keep effects short so they feel exciting
Key Takeaways
Here are the most important points from this guide on masks. Keep them in mind for your next project. They cover the steps that make the biggest difference.
- Masks show part of an overlay and reveal the clip below
- Feather edges for smooth, natural blends
- Use invert to flip the visible area
- Animate masks with keyframes for wipes and reveals
Conclusion
Masks in CapCut let you blend clips in creative ways. Add an overlay, tap Mask, choose a shape and adjust it on the preview. Use feather for soft edges and invert to flip the visible area.
Try split screens, clone effects, spotlights and text behind subject. Animate masks with keyframes for wipes and portal transitions. With a little practice, masks will become one of your favorite tools.
For more feature guides and creative tips, keep visiting getcapcutapk.in/. Also explore our full list of CapCut features to discover more tools. Happy editing.
Frequently Asked Questions
Select a video clip or overlay on the timeline. Scroll the bottom toolbar and tap Mask. On PC, find it in the properties panel.
Yes, the main mask shapes are free in CapCut. You can use them on mobile and PC. Some special effects you add may be Pro.
Place one clip as an overlay over another clip. Add a Linear mask to the overlay and move the line to the center. Feather the edge a little.
Drag the feather handle on the mask or use the Feather slider. A bigger feather makes the blend softer. Small feathers keep edges sharp.
Yes, use keyframes on the masked clip. Change the mask position or size at different points. CapCut creates the motion between them.