How to Make Velocity Edits in CapCut Like a Pro Video Editor
Velocity edits are everywhere on TikTok and Instagram. The video speeds up, slows down and snaps to the beat in a smooth, eye-catching way. This guide shows you how to make velocity edits in CapCut like a pro video editor.
You will learn how to use speed curves, sync your edit to the music and add effects that make it pop. We also share the best clips to use, smooth slow motion tips and fixes for common problems. The team at getcapcutapk.in/ has made many velocity edits for dance, sports, car and travel videos.
You do not need a template or a Pro plan to make a great velocity edit. The tools are free and built right into CapCut. For an overview of the app, visit our CapCut Pro APK home page.
What Is a Velocity Edit?
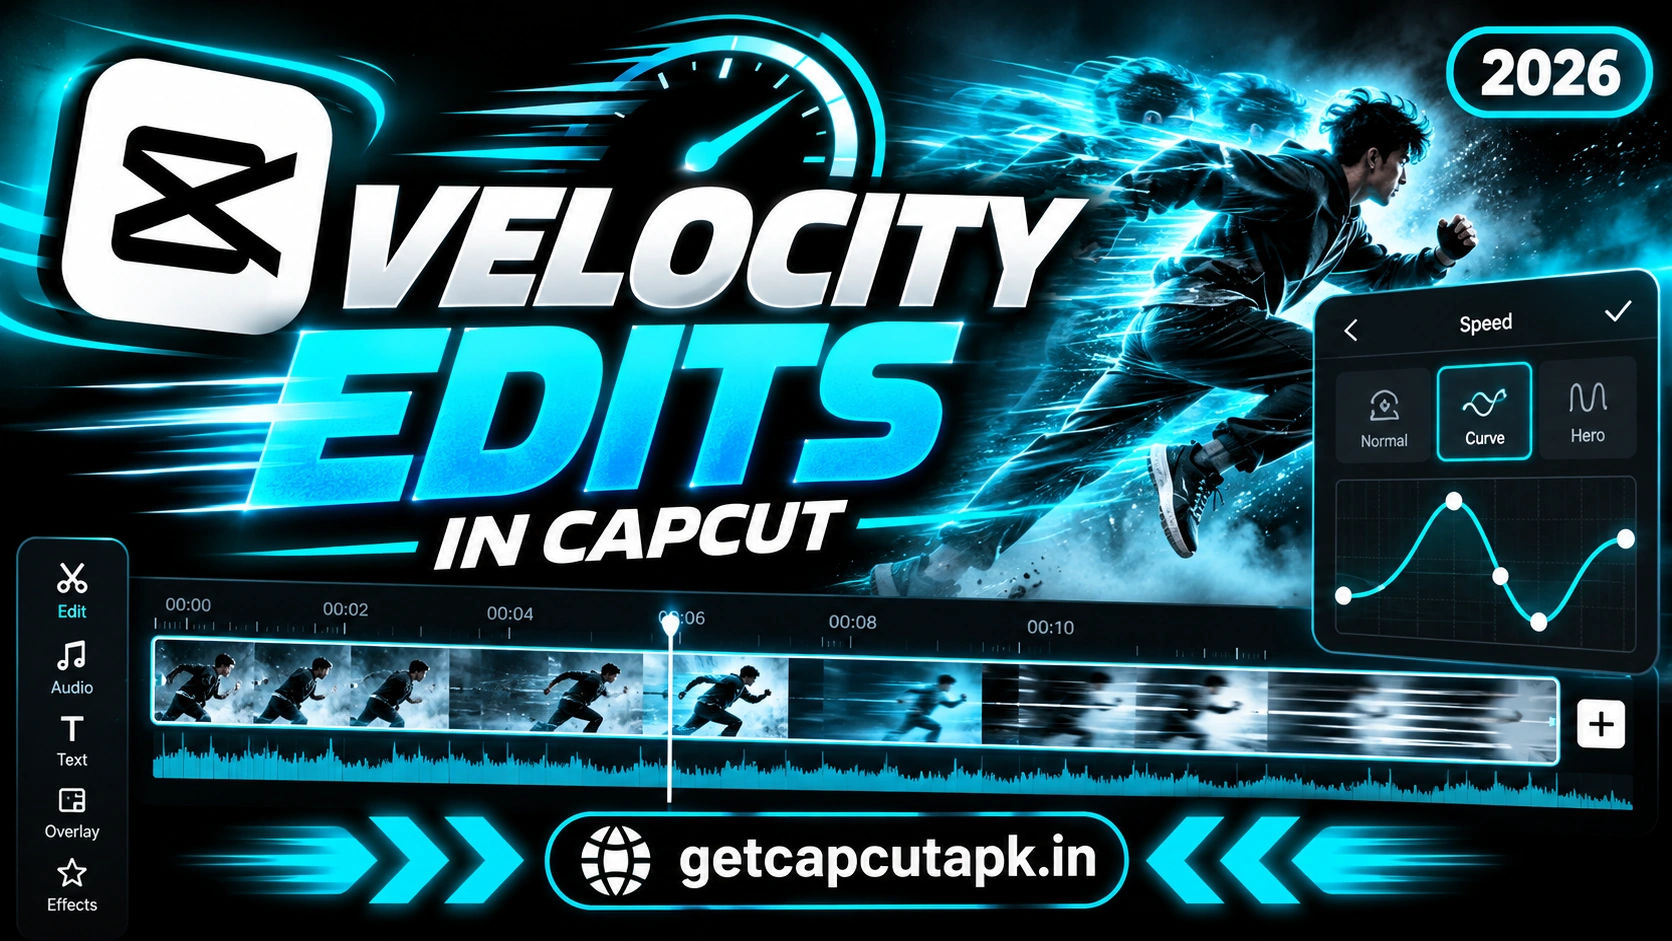
A velocity edit is a video where the speed changes quickly and smoothly to match music. The clip slows down on important moments and speeds up between them. This creates a rhythmic, energetic feel.
The name comes from the word velocity, which means speed. In CapCut, you create these changes with the Curve option in the Speed menu. Each curve shows how the speed rises and falls over time.
Velocity edits work best with clips full of motion. Dance moves, sports plays, car drifts and walking shots all look great. The changing speed highlights the most exciting parts.
What You Need for a Velocity Edit
You only need a few things to make a great velocity edit. Good clips and the right song matter most. Here is a quick checklist:
- Clips with clear motion, like dancing, jumping or turning
- A song with strong beats that are easy to hear
- High frame rate footage, such as 60 fps, for smooth slow motion
- The CapCut app on your phone, tablet or computer
- A few minutes to fine-tune the timing
Footage shot at 60 fps or higher gives much smoother slow motion. If your phone supports it, record at a high frame rate. Standard 30 fps clips can still work, but slow parts may look choppy.
How Speed Curves Work in CapCut
The Curve speed tool shows a graph with points you can move. Higher points mean faster speed, and lower points mean slower speed. The line between points shows how the speed changes over time.
CapCut offers several preset curves, such as Montage, Hero, Bullet, Jump Cut, Flash In and Flash Out. Each one creates a different speed pattern. You can use them as they are or edit them to match your music.
You can also start with a Custom curve and build your own pattern. This gives you full control over every speed change. Most pro editors start with a preset and then adjust the points.
| Preset | Speed Pattern | Best For |
|---|---|---|
| Montage | Fast, slow, fast | General velocity edits |
| Hero | Slow down in the middle | Highlighting one key moment |
| Bullet | Very slow center, fast edges | Dramatic action shots |
| Jump Cut | Sudden speed jumps | Energetic beat edits |
| Flash In | Starts fast, slows down | Openings |
| Flash Out | Starts slow, speeds up | Endings and transitions |
How to Make a Velocity Edit on Mobile
Follow these steps to make your first velocity edit on Android or iPhone. Take your time with the timing, since that is what makes the edit look great. You can always adjust it later.
Step 1 Add Your Clips and Music
- Open CapCut and tap New project.
- Select your clips and tap Add.
- Tap Audio, then Sounds, and add your song.
- Trim the song to the part you want to use.
Step 2 Mark the Beats
- Tap the music track on the timeline.
- Tap Beats in the toolbar.
- Turn on Auto generate or tap to add beat marks by hand.
- Small dots will appear on the music track at each beat.
Step 3 Apply a Speed Curve
- Tap the first clip on the timeline.
- Tap Speed, then tap Curve.
- Choose a preset, such as Montage or Hero.
- Tap Edit on the preset to see the curve points.
- Drag the points so slow parts land on the beats.
- Turn on Smooth slow-mo if the option appears.
- Tap the check mark to apply.
Step 4 Match Clip Ends to the Beats
- Trim each clip so it ends exactly on a beat mark.
- Repeat the speed curve for each clip.
- Play the video and adjust any timing that feels off.
Repeat these steps for every clip in your edit. The more precisely your clips match the beats, the better your edit will feel. Small timing changes make a big difference.
How to Make a Velocity Edit on PC
The desktop app gives you a bigger curve graph and more precise control. This makes fine-tuning much easier. Here is how to do it.
- Import your clips and song into a new project.
- Drag the song to the audio track.
- Use Auto beat or add beat marks by hand.
- Select a clip and open Speed in the properties panel.
- Choose Curve and pick a preset.
- Drag the curve points to match the beats.
- Repeat for each clip and preview the result.
The larger screen helps you see beats and clip edges clearly. You can also zoom in on the timeline for frame-perfect cuts. For more desktop tips, read our guide on how to use CapCut on PC.
How to Make Smooth Slow Motion
Smooth slow motion is the heart of a great velocity edit. Choppy slow motion can ruin the effect. Here is how to keep it smooth.
Use High Frame Rate Clips
Record at 60 fps or higher if your camera allows it. More frames per second means smoother slow parts. This is the most important step for smooth results.
Turn On Smooth Slow-Mo
CapCut offers a Smooth slow-mo or frame blending option in the Speed menu. It creates extra frames between real ones to smooth the motion. This helps when your clips are only 30 fps.
Do Not Slow Down Too Much
Very low speeds can still look choppy, even with smoothing. Keep the slowest point around 0.3x to 0.5x for most clips. Test different values to see what looks best.
Effects That Make Velocity Edits Pop
Speed curves are the base of a velocity edit, but effects add extra energy. A few well-placed effects make your edit look pro. Here are popular choices.
| Effect | Where to Use It |
|---|---|
| Shake | On strong beats for impact |
| Flash | Between clips as a quick transition |
| Zoom | On key moments with keyframes |
| Motion Blur | During fast speed parts |
| Glow | On bright or night scenes |
| Color Grade | Across the whole edit for one look |
Add effects on the beat for the best impact. Too many effects can feel messy, so use them sparingly. One or two effects per clip is usually enough.
How to Add a Shake on the Beat
A quick shake on strong beats is a classic velocity edit move. It adds punch and energy to the edit. Here is how to add it.
- Move the playhead to a strong beat.
- Tap Effects, then Video effects.
- Search for Shake and pick one you like.
- Shorten the effect so it lasts only a fraction of a second.
- Repeat on other strong beats.
You can also use keyframes to create your own zoom shake. Add a quick zoom in and out around the beat. Read our guide on how to add keyframes in CapCut to learn this method.
Best Clips for Velocity Edits
The right clips make your velocity edit look amazing. Clips with clear, flowing motion work best. Here are some ideas.
- Dance moves with spins and freezes
- Sports plays like goals, dunks and tricks
- Car shots with drifts and fast turns
- Walking shots in cool locations
- Travel clips with camera moves
- Anime or game clips with action scenes
Avoid clips with very little motion, since speed changes will be hard to see. Also avoid shaky footage, which looks worse when slowed down. Steady, flowing motion gives the cleanest results.
How to Choose the Right Song
The song shapes the whole feel of your velocity edit. A great song makes the speed changes feel natural and fun. Here is what to look for.
Pick a song with a clear and steady beat. Drops, claps and bass hits give you strong points to time your slow motion. Songs with soft or uneven beats make timing much harder.
Trending sounds on TikTok and Reels can help your edit get more views. Check the music library in CapCut for popular tracks. Always make sure you have the right to use the song on the platform where you post.
Velocity Edit Workflow Summary
Here is the full workflow in one place. Keep it handy until the steps feel natural. Most editors follow this order for every edit.
| Step | Action |
|---|---|
| 1 | Pick clips with clear motion |
| 2 | Add a song with strong beats |
| 3 | Mark the beats on the music track |
| 4 | Apply a speed curve to each clip |
| 5 | Match slow parts to the beats |
| 6 | Add shake, flash or zoom on strong beats |
| 7 | Apply one color grade to the whole edit |
| 8 | Export at 1080p and 60 fps |
Common Velocity Edit Mistakes
Many beginners make the same few mistakes with velocity edits. Knowing them helps you avoid them. Here are the most common ones.
| Mistake | Fix |
|---|---|
| Choppy slow motion | Use 60 fps clips and turn on smooth slow-mo |
| Speed changes off beat | Mark beats and match curve points to them |
| Clips too long | Keep each clip short and punchy |
| Too many effects | Use one or two effects per clip |
| Song too quiet | Raise the music volume and mute clip audio |
Tips From Our Editors
The editors at getcapcutapk.in/ have made many velocity edits for different niches. Here are the tips that help most. Try them on your next edit:
- Pick a song with clear, strong beats
- Use the Montage preset as a starting point
- Keep the slowest part on the best moment of each clip
- Mute the original clip audio so the music stands out
- Add a color grade for a consistent look
- Export at 1080p and 60 fps for smooth playback
Use Templates for Quick Velocity Edits
If you want a fast result, CapCut templates offer ready-made velocity edits. Search for velocity in the Templates tab. Pick one, add your clips and export.
Templates are great for learning, since you can see how pros time their speed changes. Some templates are free, and some may need Pro. For more tips, read our guide on how to use CapCut templates.
Conclusion
Making velocity edits in CapCut is all about speed curves and good timing. Add your clips and music, mark the beats and apply a curve preset. Then adjust the curve points so slow moments land on the beats.
Use high frame rate clips and turn on smooth slow-mo for the best results. Add a few effects like shake and flash on strong beats. With practice, your velocity edits will look smooth, energetic and professional.
For more creative guides and editing tips, keep visiting getcapcutapk.in/. Also explore our full list of CapCut features to learn more tools. Happy editing.
Frequently Asked Questions
A velocity edit is a video where the speed changes quickly to match music. It uses speed curves to slow down and speed up clips. The result feels smooth and rhythmic.
Select a clip and tap Speed in the toolbar. Then tap Curve. You can choose a preset or make a custom curve.
Use clips filmed at 60 fps or higher. Turn on Smooth slow-mo in the Speed menu. Avoid slowing clips down too much.
Yes, you can make them with speed curves and beat marks. No template is needed. Templates are just a quick shortcut.
Yes, the speed curve tool is free. Most presets also work without Pro. Some effects you add may be Pro.