How to Remove Background in CapCut Without Green Screen
Not everyone has a green screen at home, but you can still swap your background in CapCut. The app uses smart AI to cut out people from almost any video. This guide shows you how to remove background in CapCut without a green screen.
You will learn how to use Auto removal and Custom removal on mobile and PC. We also share tips for clean edges, creative ideas and fixes for common problems. The team at getcapcutapk.in/ has tested these tools on many kinds of clips, from selfies to full-body shots.
This feature is perfect for reaction videos, product clips, tutorials and fun edits. It takes only a few taps and works on most modern phones. For an overview of the app, visit our CapCut Pro APK home page.
What Is Background Removal in CapCut?
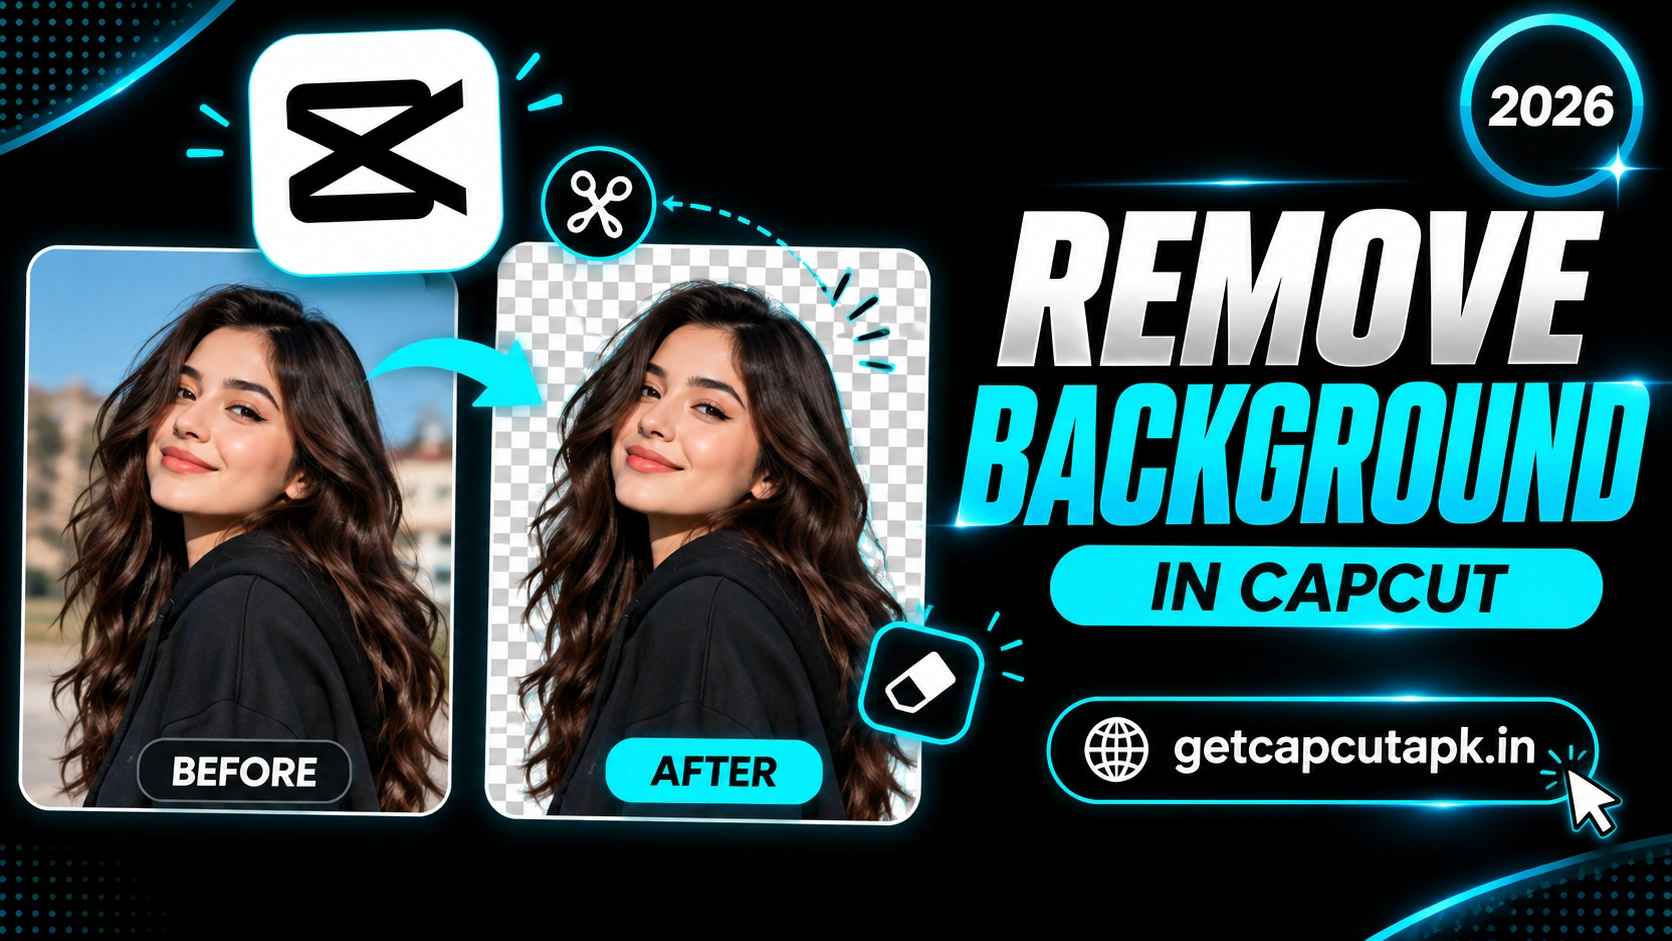
Background removal is an AI tool that detects the main subject in your video and hides everything behind it. It works without a solid color background. The AI looks at shapes, edges and movement to find the person.
CapCut offers three ways to remove a background. Auto removal does it with one tap. Custom removal lets you brush over the subject, and Chroma key removes a solid color.
Once the background is gone, you can place your subject over any new image or video. You can also add effects like outlines, glow and shadows. This opens up many creative options.
Background Removal Options Compared
Each method works best in different situations. The table below helps you choose the right one. Most users start with Auto removal.
| Method | How It Works | Best For |
|---|---|---|
| Auto removal | AI finds the person automatically | Videos of people with clear outlines |
| Custom removal | You brush over the subject | Objects, pets or tricky shots |
| Chroma key | Removes one solid color | Green or blue screen footage |
How to Remove Background in CapCut on Mobile
The steps are the same on Android and iPhone. The key is to add your video as an overlay on top of a new background. Follow these steps.
Step 1 Add a New Background
- Open CapCut and tap New project.
- Select an image or video for the new background.
- Tap Add to place it on the main track.
Step 2 Add Your Video as an Overlay
- Tap Overlay in the bottom toolbar.
- Tap Add overlay.
- Select the video with the person you want to cut out.
- Pinch the preview to resize it so it fills the frame.
Step 3 Remove the Background
- Tap the overlay clip on the timeline.
- Tap Remove BG in the toolbar.
- Tap Auto removal.
- Wait while CapCut processes the clip.
- Play the video to check the result.
The person now appears in front of your new background. If the edges look rough, try the tips later in this guide. You can also adjust the overlay size and position to fit the scene.
How to Use Custom Removal
Auto removal works best on people. For objects, pets or tricky shots, Custom removal gives you more control. You brush over the subject you want to keep.
- Select your overlay clip.
- Tap Remove BG.
- Tap Custom removal.
- Use the Smart brush to paint over the subject.
- Use the Eraser to remove extra areas.
- Tap the check mark and wait for processing.
Custom removal tracks your subject through the clip. Check the full video, since tracking may slip on fast motion. Brush over the subject again on any frame that needs a fix.
How to Remove Background in CapCut on PC
The desktop app also offers background removal with a larger preview. This helps you check edges more closely. Here is how to use it.
- Create a new project and import your clips.
- Drag your new background to the main track.
- Drag your person video to the track above it.
- Select the top clip.
- In the properties panel, open Video and then Remove BG.
- Turn on Auto removal.
- Wait for processing and preview the result.
The desktop version handles long clips more comfortably. You can also zoom in on the preview to check hair and small details. For more desktop tips, read our guide on how to use CapCut on PC.
How to Remove Background From a Photo
You can also remove the background from still images. This is useful for thumbnails, product shots and fun edits. The steps are almost the same as for video.
- Add a background image to the main track.
- Add your photo as an overlay.
- Select the photo and tap Remove BG.
- Tap Auto removal.
- Resize and move the cutout as needed.
Photos process faster than videos because there is only one frame. You can export the result as a video or use it in a longer project. This is a quick way to make thumbnail graphics.
Tips for Clean Background Removal
AI background removal works best with good source footage. A few simple tips make the edges much cleaner. The editors at getcapcutapk.in/ follow these for every project:
- Film in bright, even light
- Choose a plain background with few details
- Wear clothes that contrast with the background
- Keep the full outline of the person in the frame
- Avoid fast motion that causes blur
- Keep hair tidy, since loose strands are hard to cut out
Use Stroke and Shadow
After removal, CapCut lets you add a stroke or outline around the subject. A thin white or colored stroke hides rough edges. It also gives a fun sticker-style look.
Match the Lighting
If your subject is lit from the left, choose a background lit from the left too. Matching light and color makes the scene feel real. You can also add a filter to both layers for one color tone.
Creative Background Removal Ideas
Background removal opens up endless creative options. Here are some popular ideas to try. They work great on TikTok, Reels and YouTube.
| Idea | How to Do It |
|---|---|
| Travel edit | Place yourself in front of famous landmarks |
| Reaction video | Put yourself over the video you react to |
| Product showcase | Cut out a product and place it on a clean background |
| Clone effect | Use the same person twice in one scene |
| Text behind subject | Place text between the background and the cutout |
| Thumbnail graphics | Cut out a face for YouTube thumbnails |
How to Put Text Behind a Person
- Add your original video to the main track.
- Add text on a track above it.
- Add a copy of the original video as an overlay above the text.
- Remove the background from the top copy.
Now the text appears behind the person but in front of the background. This trendy effect looks great in intros and titles. It takes only a few minutes to set up.
How to Add Effects After Removing the Background
Once your subject is cut out, you can make it pop with extra effects. These touches help the subject stand out from the new scene. They are quick to apply and look great on social media.
- Select the cutout overlay clip.
- Tap Remove BG and look for Stroke options.
- Pick a stroke color and adjust its width.
- Tap Effects and try Glow, Outline or Shadow styles.
- Use Adjust to match brightness and color with the background.
A soft shadow under the subject adds depth and realism. A bright outline gives a fun, sticker-like look. Choose the style that fits the mood of your video.
How to Move the Cutout Around the Scene
You can animate your cutout to move across the new background. This creates fun effects like walking into a scene or flying across the screen. Keyframes make it easy.
- Select the cutout clip.
- Add a keyframe at the start.
- Move the playhead forward.
- Drag the cutout to a new spot in the frame.
CapCut fills in the motion between the two points. Add more keyframes for curved paths or size changes. Read our guide on how to add keyframes in CapCut for more ideas.
Best Types of Clips for Background Removal
Some clips give much better results than others. Knowing what works helps you plan your shots. Here is a quick guide:
| Clip Type | Result Quality |
|---|---|
| Person standing still in good light | Excellent |
| Talking head selfie | Very good |
| Full body dance with plain wall | Good |
| Fast sports action | Fair |
| Busy street background | Fair to poor |
If your clip falls into the fair or poor group, try Custom removal instead. You can also film again in a simpler setting. A few minutes of planning saves a lot of editing time later.
Background Removal vs Green Screen
Both methods remove backgrounds, but they work in different ways. Each one has its own strengths. The table below compares them.
| Point | Background Removal | Green Screen |
|---|---|---|
| Special Setup | No | Green or blue background |
| Edge Quality | Good, may miss fine details | Very clean with good light |
| Works on Objects | With Custom removal | Yes |
| Processing Time | A few seconds | Instant |
| Best For | Quick edits anywhere | Planned studio shots |
If you have a green screen, Chroma Key gives the cleanest edges. If not, Auto removal is fast and surprisingly good. Read our guide on how to use green screen in CapCut to compare both.
Common Problems and Fixes
AI removal is smart, but it is not perfect. Most problems come from lighting, motion or busy backgrounds. The table below lists quick fixes.
| Problem | Fix |
|---|---|
| Parts of the person disappear | Use Custom removal and brush over the missing parts |
| Background still shows | Use Custom removal and erase extra areas |
| Edges flicker | Film in better light and add a thin stroke |
| Remove BG option missing | Select an overlay clip, not the main track |
| Processing stuck | Free up storage and restart the app |
If the Remove BG option does not show, update CapCut to the latest version. Some features move between updates. Our guide on how to update CapCut on Android shows you how.
Is Background Removal Free?
Auto removal is free for most users in most regions. Some advanced AI tools may need a Pro plan or have usage limits. The rules can change with app updates.
If you see a Pro label next to a tool, you may need a subscription to export with it. Free users can still use Chroma Key and many other tools. Check the app for the latest details in your region.
Remove Objects Too
Background removal works on the whole scene behind a person. To erase one small thing, like a sign or a passerby, you need a different tool. Read our guide on how to remove objects in CapCut for the steps.
Conclusion
Removing the background in CapCut without a green screen is quick and easy. Add a new background, place your video as an overlay and tap Auto removal. For objects or tricky shots, use Custom removal with the smart brush.
Good lighting, a plain background and clear outlines give the cleanest results. Add a stroke or matching filter to make the cutout blend in. With a little practice, you can create amazing scenes from anywhere.
For more feature guides and creative tricks, keep visiting getcapcutapk.in/. Also explore our full list of CapCut features to learn more tools. Happy editing.
Frequently Asked Questions
Yes, use the Auto removal option under Remove BG. It uses AI to cut out people from almost any background. It works best with good lighting.
The option appears only when you select an overlay clip or a single clip. Make sure your app is up to date. Some regions may show the tool under a different name.
Yes, add the photo as an overlay and tap Remove BG. Then tap Auto removal. The cutout is ready in a second or two.
Auto removal is free for most users. Some advanced AI tools may need Pro or have limits. Check the app for current details.
Film in bright, even light with a plain background. Add a thin stroke around the subject. Matching the light of the new background also helps.