How to Export Part of a Video in CapCut in a Few Easy Steps
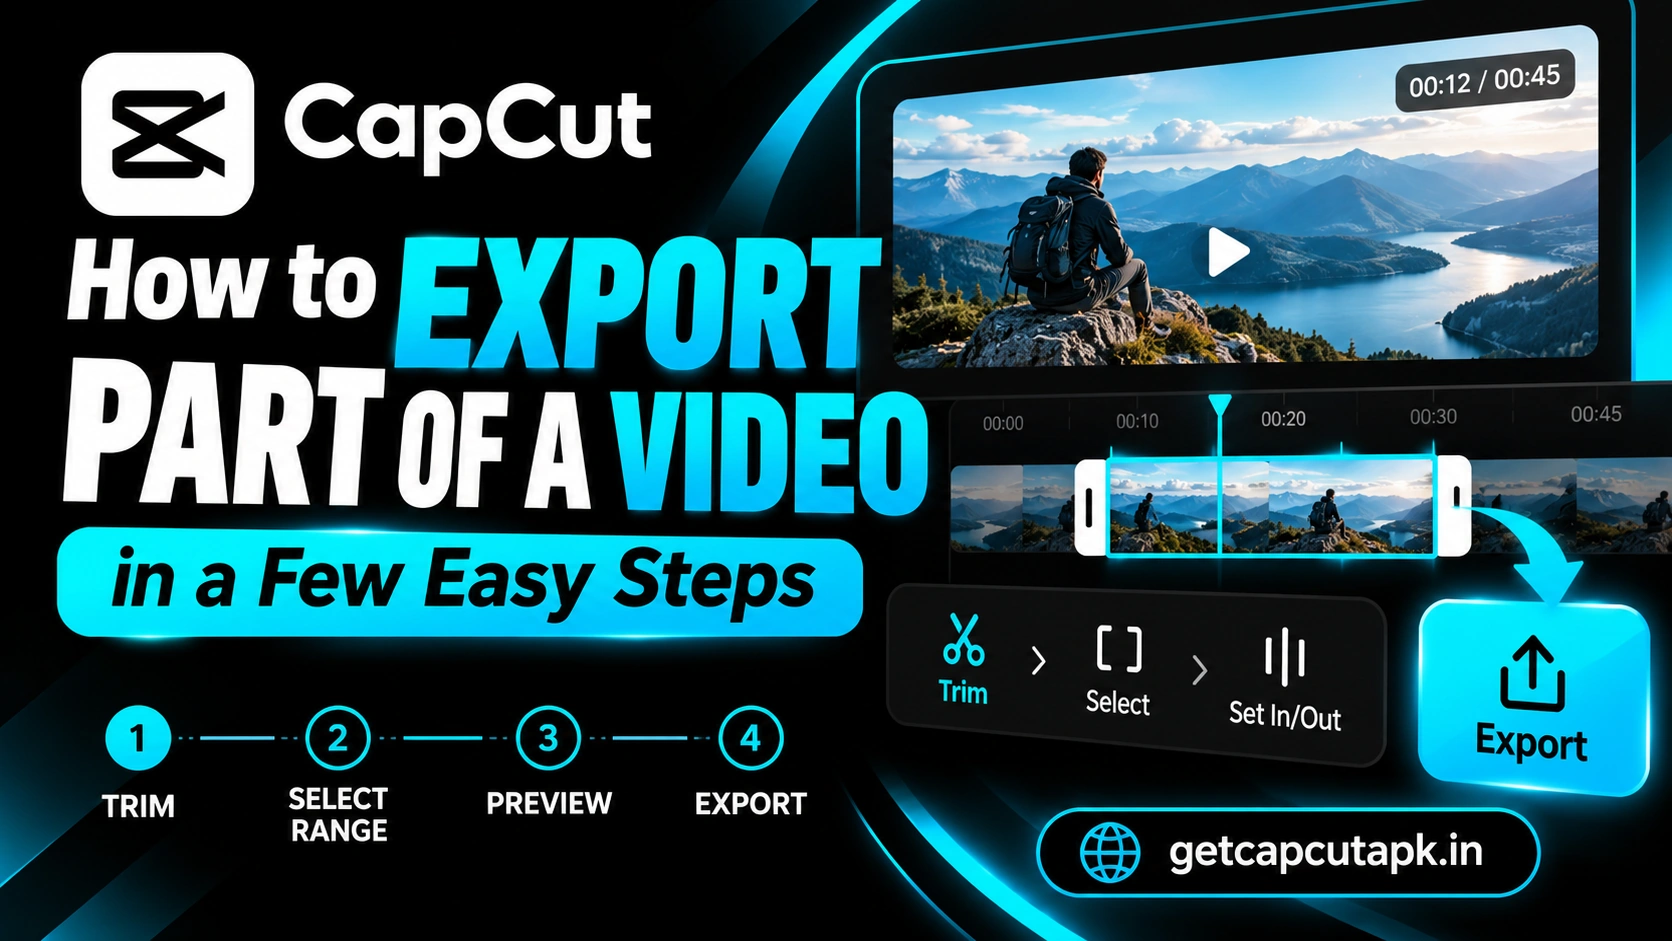
Sometimes you only need a small section of a longer video. Maybe you want a short clip for a Story, a preview for a client or a highlight for Shorts. This guide shows you how to export part of a video in CapCut in a few easy steps.
You will learn several methods, from trimming and splitting to duplicating projects and exporting a selected range on desktop. We also cover export settings, common mistakes and tips to save time. The team at getcapcutapk.in/ uses these methods to make clips and previews every day.
The best method depends on your device and whether you want to keep the full edit. Each one takes only a few minutes. For an overview of the app, visit our CapCut Pro APK home page.
Why Export Only Part of a Video?
Exporting a section is useful in many situations. It saves time and storage compared to exporting the whole video. Here are common reasons.
- Make a short clip for Stories, Reels or Shorts
- Share a preview or teaser before the full release
- Send a section to a client or teammate for review
- Cut a highlight from a long stream or vlog
- Test export settings on a short part first
- Create a GIF style loop from one moment
Exporting short sections is also faster. You can check quality, color and sound without waiting for a long render. This is a smart habit for long projects.
Method Overview
There are several ways to export a section in CapCut. The table below helps you pick the right one. Each method is explained step by step below.
| Method | Best For | Keeps Full Edit? |
|---|---|---|
| Duplicate and trim | Any device | Yes |
| Split and delete | Quick one-time clips | No, unless duplicated |
| Export range on PC | Desktop users | Yes |
| New project from export | Clips from finished videos | Yes |
Method 1 Duplicate the Project and Trim
This is the safest method because it keeps your full edit untouched. You make a copy of the project and cut the copy down. It works on phone and desktop.
On Mobile
- Open CapCut and go to your projects list.
- Tap the three dots on your project.
- Tap Duplicate.
- Open the copy.
- Delete or trim everything except the part you want.
- Tap Export.
On PC
- Right click the project on the home screen.
- Choose Duplicate.
- Open the copy and remove the parts you do not need.
- Click Export.
Rename the copy so you can find it easily, such as Trip Video Teaser. Your original project stays safe for future edits. This is the method the team at getcapcutapk.in/ uses most.
Method 2 Split and Delete
If you do not need the full edit later, you can split and delete directly. This is quick but changes the original project. Use it for simple, one-time clips.
- Open your project.
- Move the playhead to the start of the part you want.
- Tap Split.
- Move the playhead to the end of the part.
- Tap Split again.
- Select the parts before and after, and tap Delete.
- Tap Export.
Remember to check every track, including music, text and overlays. Extra items may still sit outside your chosen section. Delete or trim them so your export does not include empty space.
Method 3 Export a Selected Range on PC
The desktop app may let you set an export range in some versions. This exports only the section between two points. It is fast and keeps your project unchanged.
- Open your project on PC.
- Look for in and out point controls, or a range option on the export screen.
- Set the start and end of the section.
- Open Export and choose your settings.
- Export only the selected range.
Feature names and availability can change between versions. If you do not see a range option, use Method 1 instead. For more desktop tips, read our guide on how to use CapCut on PC.
Method 4 Cut From a Finished Video
If you already exported the full video, you can cut a section from it. This is useful when the original project is gone or very large. It is also quick for social clips.
- Tap New project in CapCut.
- Import your finished video.
- Trim the start and end to your section.
- Change the ratio if needed, such as 9:16.
- Add captions or a title if you like.
- Export the new clip.
This method works well for making Shorts and Reels from long videos. Read our guide on how to make YouTube Shorts in CapCut for more tips. It covers hooks, captions and pacing.
Choose the Right Export Settings
Short clips still need good export settings. Match the settings to where you will post or send the clip. Use this table as a guide.
| Purpose | Resolution | Frame Rate |
|---|---|---|
| Social media clip | 1080p | 30 fps |
| Client preview | 720p or 1080p | 30 fps |
| Quality test | Same as final export | Same as final export |
| Messaging apps | 720p | 30 fps |
For quick previews, a lower resolution exports faster and sends easily. For final clips, use 1080p or higher. Always match your final settings when you test quality.
How to Export a Still Frame
Sometimes you only need a single image from your video, like a thumbnail. CapCut makes this possible in many versions. Here is how.
- Move the playhead to the frame you want.
- Look for a snapshot or export frame option.
- Save the image to your device.
If your version lacks this option, take a screenshot of the full-screen preview. Then crop it in your gallery or Hypic. For thumbnail design, read our Hypic AI photo editor guide.
Tips for Clean Section Exports
A few small habits make your clips look polished. They also prevent common export mistakes. Try these tips.
- Start the clip on movement or a strong moment
- End on a clean beat or pause
- Add a short fade to the music at both ends
- Check all tracks for extra items
- Keep text fully inside the section
- Watch the clip once before you export
Fades make short clips feel complete. Without them, music can start or stop suddenly. Half a second is often enough.
Common Problems and Fixes
A few problems can appear when you export part of a video. Most are easy to fix. The table below lists them.
| Problem | Fix |
|---|---|
| Export includes black space | Delete extra tracks beyond your section |
| Music continues after the clip | Trim the audio track to match |
| Text cut off at the start | Move text inside the section |
| Original edit lost | Duplicate projects before cutting |
| Export fails | Free up storage and lower the resolution |
Make Several Clips From One Long Video
Long videos often contain many great moments. You can turn one long video into a full week of short clips. Here is an efficient workflow.
- Watch your long video and note the time of each strong moment.
- Duplicate the project once for each moment.
- Trim each copy to its moment.
- Change the ratio to 9:16 for social clips.
- Add captions and a short title to each.
- Export all clips with clear names.
This batch approach is much faster than editing each clip from scratch. Your style stays consistent across every clip. Viewers will recognize your content quickly.
Exporting Sections for Review
Clients and teammates often only need to see one part of a project. Sending a short section saves time for everyone. It also keeps file sizes small.
Export the section at 720p for quick review. Name the file with the project and section, like Promo Video Intro Draft. Ask for feedback on that section before you finish the rest.
When the feedback comes back, update the full project. Then export the final version at full quality. This workflow keeps reviews fast and focused.
How to Export Audio Only
Sometimes you need only the sound from a section, like a voiceover or a music cue. Some CapCut versions offer an audio export option. Look on the export screen.
If your version does not export audio alone, export the section as video. Then use another tool to extract the audio. You can also extract audio inside CapCut for use in other projects, as shown in our CapCut audio editing guide.
Save Time With Draft Copies
If you often make short clips from long videos, organize your drafts. A tidy drafts list saves a lot of time. Here are simple tips.
Give every copy a clear name, like Episode Five Clip One. Delete old copies you no longer need. Keep your original project unchanged as the master version.
Best Section Lengths by Platform
Different platforms favor different clip lengths. Picking the right length helps your clip perform well. Use this table as a guide.
| Platform | Suggested Length |
|---|---|
| Instagram Stories | Up to 15 to 60 seconds per story |
| Reels and TikTok | 15 to 45 seconds |
| YouTube Shorts | 15 to 60 seconds |
| WhatsApp status | Up to the app’s current limit |
| Client preview | 10 to 30 seconds |
Check each platform’s current limits, since they change from time to time. Shorter clips often get more full views. Keep only the strongest part of the moment.
Section Export Checklist
Run through this checklist before you export a section. It catches the most common mistakes. It only takes a moment.
- Is the section the right length for the platform?
- Do all tracks end at the same point?
- Is any text cut off at the start or end?
- Do music and voice fade smoothly?
- Are the export settings correct?
Export Sections on Android vs iPhone
The steps for exporting a section are the same on Android and iPhone. Both apps use the same projects list, split tool and export screen. Only small design details may differ.
On both, duplicate the project from the three dots menu in your projects list. On both, exported clips save to your gallery or Photos app. If a menu looks different, update CapCut to the latest version.
Key Takeaways
Here are the most important points from this guide on exporting part of a video. Keep them in mind for your next project. They cover the steps that make the biggest difference.
- Duplicate the project before you cut to keep the full edit
- Split and delete for quick one-time clips
- Check every track so no extra space is exported
- Add short fades for clean starts and endings
Conclusion
Exporting part of a video in CapCut is quick and easy. The safest method is to duplicate the project and trim the copy. You can also split and delete, use an export range on PC or cut from a finished video.
Check every track so your export includes only the section you want. Choose export settings that match your platform and add short fades for clean starts and endings. These steps help you create clips, previews and highlights fast.
For more feature guides and editing tips, keep visiting getcapcutapk.in/. Also explore our full list of CapCut features to learn more tools. Happy editing.
Frequently Asked Questions
Duplicate your project and trim the copy to the part you want. Then export the copy. Your original project stays safe.
Some desktop versions may offer range or in and out options. If yours does not, duplicate and trim instead. Both methods give the same result.
Extra tracks like music or text may extend past your section. Trim or delete them. Then export again.
Splitting and deleting changes the project. Duplicate the project first to keep the full edit. Exported videos are not affected.
Move the playhead to the frame and use a snapshot option if available. Otherwise, take a screenshot of the full-screen preview. Crop it in your gallery.